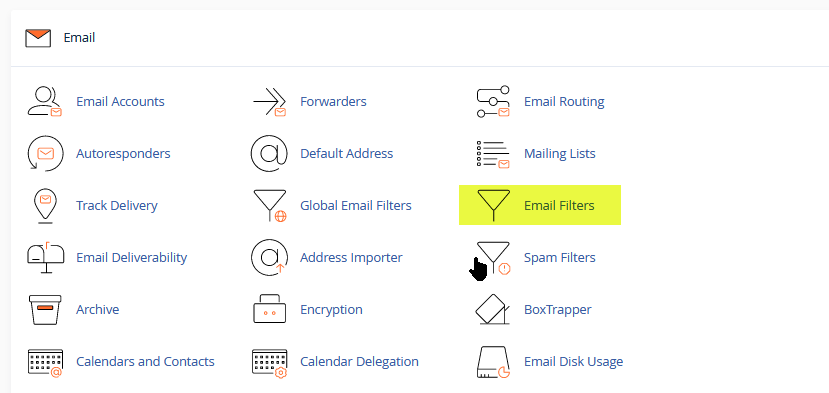
cPanel lets you filter all email sent to your domain’s main email account. This account is simply a byproduct of account creation, and consists of your cPanel username and the server’s hostname, in the format user@server.example.com.
Best Practices
We strongly recommend using multiple, simple filters instead of a single, monolithic filter. Exim, your server’s mail transfer agent, handles many small rules much more efficiently than it handles a single large rule.
Exim has an implicit limit on how large an error message can be. Excessively large filters can exceed that limit whenever an error is encountered, making debugging impossible.
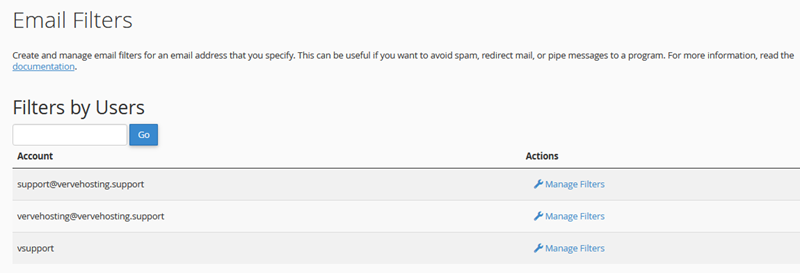
Add a User Level Filter
It is important to give the filter an appropriate name, as it will make the task of managing existing filters easier in the future.
The Edit Filter for All Mail on Your Account screen.
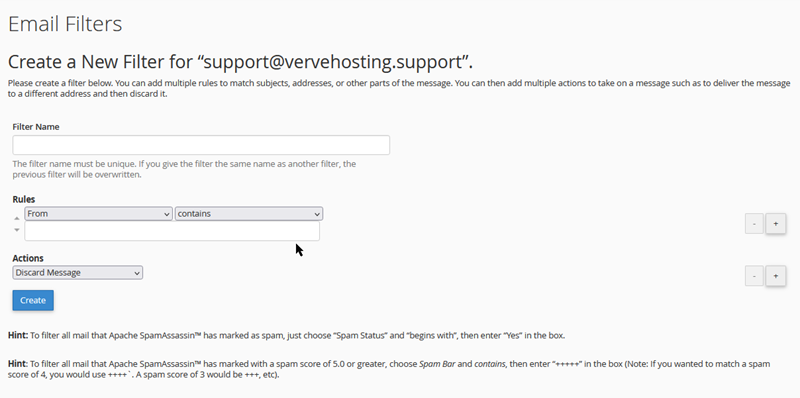
- Click Create a new Filter.
- Type a name for the filter in the Filter Name box.
- Select a message characteristic from the first pull-down menu.
- Select an operator from the next pull-down menu.
- Enter the characters or words you wish to use as a filter.
- Note: This field will accept regular expressions (when you select the matches regex operator), rather than more commonly used wildcard characters (such as
*or?).
- Note: This field will accept regular expressions (when you select the matches regex operator), rather than more commonly used wildcard characters (such as
- You can add and subtract rules by clicking the + and - buttons.
- Select an action from the pull-down menu under the Actions heading. You can add and subtract actions by clicking the + and – buttons.
- Click Activate to initialize the filter.
You can also read more about the comprehensive list of options for configuring your filter.
A word about operators: When you create a filter using several operators, it may be useful to note that cPanel will always process the “and” operator before the “or” operator. As a result, email filters will be processed as follows:
- A or B and C will be processed as A or (B and C).
- A and B or C will be processed as (A and B) or C.
If you wish to create a filter such as (A or B) and (C or D), you would have to create it like so:
- (A and C) or (A and D) or (B and C) or (B and D).
Test a Filter
Once a filter has been created, it can be tested.
To test your filter:
- Type a test email message in the text box below the Filter Testheading.
- Be sure to include the characters or words that you have set up your filter to catch.
- Click Test Filter.
When the test is run, the next screen should display a similar result to the screenshot below.

Filter Test Results.
Edit a Custom Filter
You can also modify an existing filter.
To edit an existing filter:
- Click Edit next to the appropriate filter name.
- You can adjust any of the fields displayed — the message characteristic, operator, term to filter, or resulting action.
- Click Activate to initialize the filter.
Delete an Existing Filter
To delete a filter:
- Click Delete.
- Confirm that the filter should be deleted on the following page.
