This tutorial will show you how to configure your email settings on your iPad.
1) First, locate and press the “Settings” icon. It may be on a different screen or in a different location than shown here.
2) Then select “Mail, Contacts, Calendars”. This is where you can configure all your email settings. Let’s go through some of the more common ones.
3) Press the “Fetch New Data” option. If your email service supports “Push” email, you can enable that feature by turning it on here. Alternatively, you can set your iPhone to “Fetch” your email at certain intervals… every 15, 30 or 60 minutes… or manually.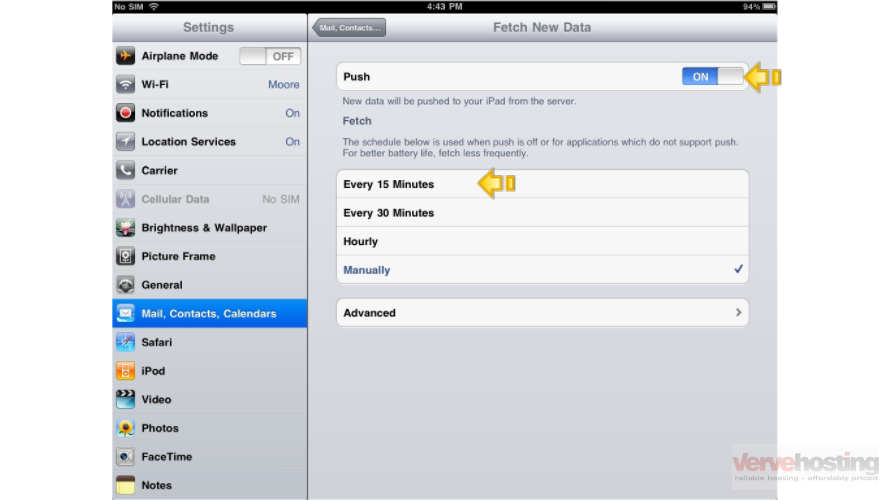
4) Back at the Mail Settings screen, press “Show”.
5) From here you can choose how many messages to show at one time…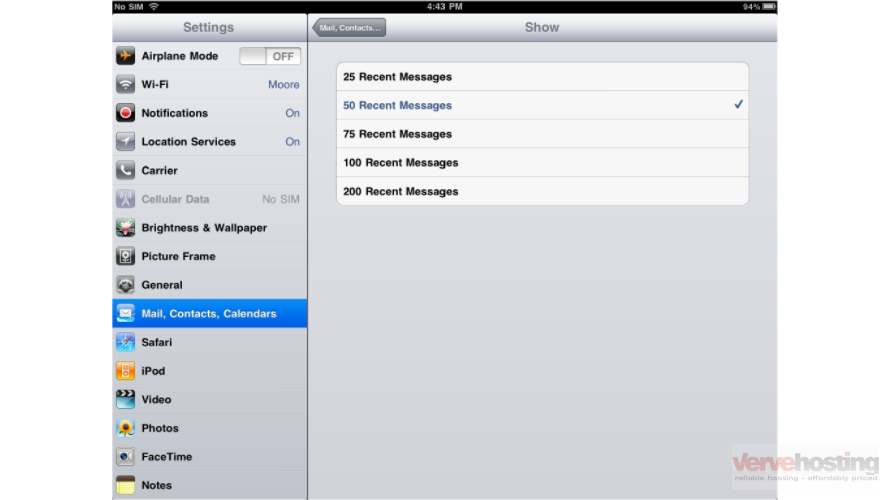
6) … how many “Preview Lines” to show…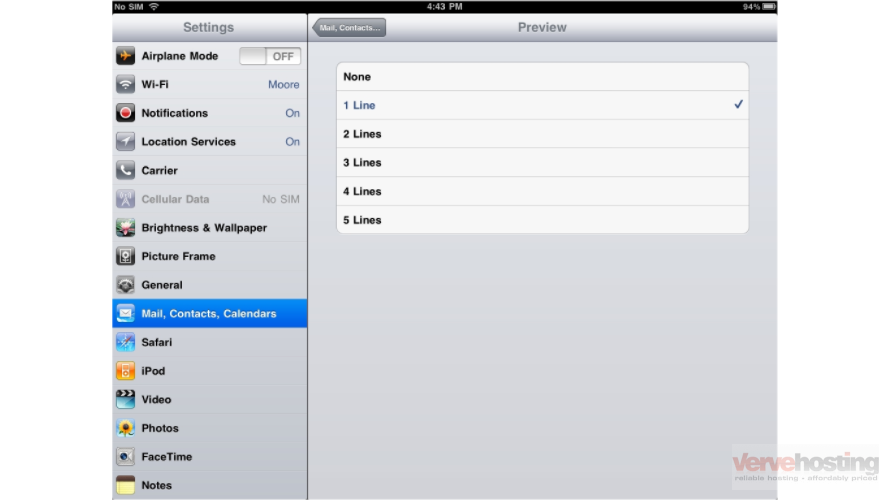
7) You can adjust the font size…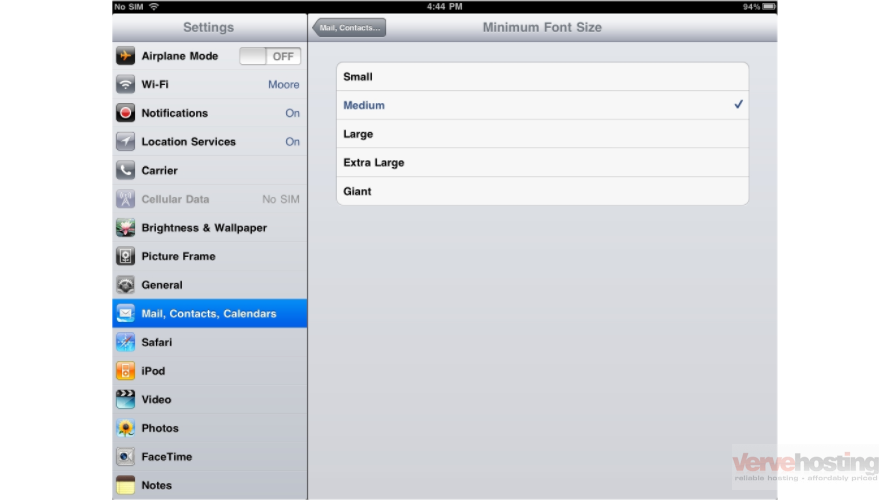
8) … and whether or not to show the “To” and “CC” labels. You can also enable the “Always Bcc Myself” option to send a copy of your sent messages to yourself, if you want to keep a copy of your sent messages elsewhere.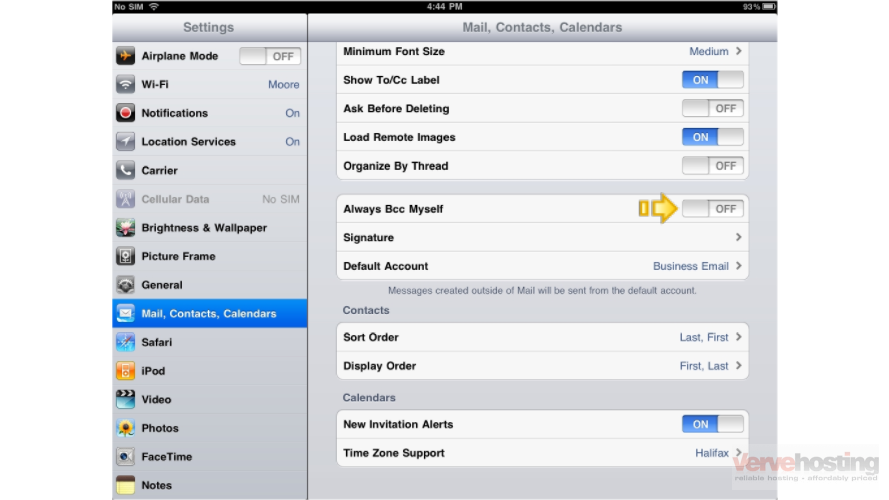
9) You can setup your email signature… and choose which email account is to be your default account (if you have more than one).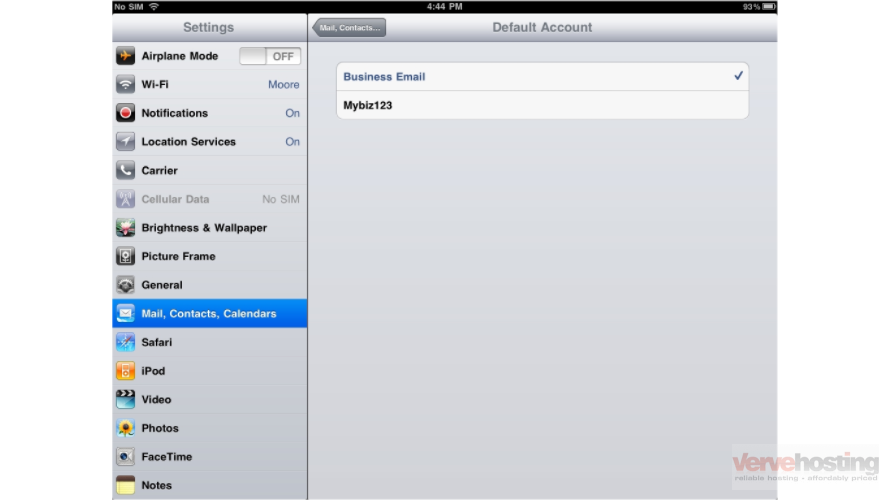
10) Just about any setting you could want to change for your iPad email, can be changed from these screens.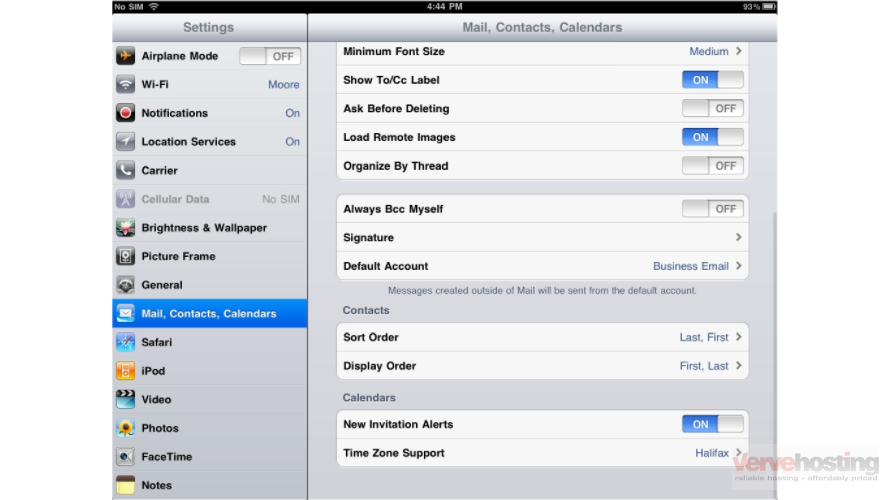
11) Let’s return to the home screen by pressing the Home button on the iPad.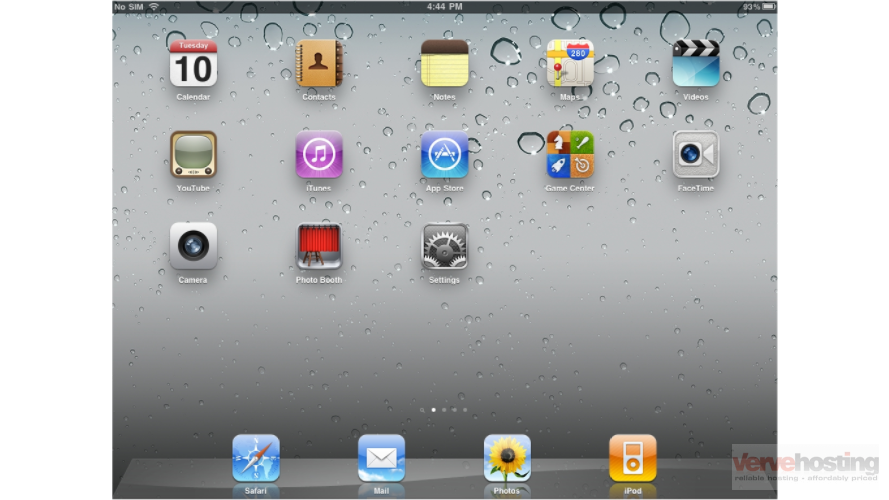
That’s it! You now know how to configure your email settings on your iPad.
