PhotoShop CS3 Basic series
29. How to add text using the Type tools in PhotoShop
This tutorial will show you how to add text using the type tools in Photoshop
This tutorial assumes you already have your picture open in Photoshop
1) Select the type tool from the toolbar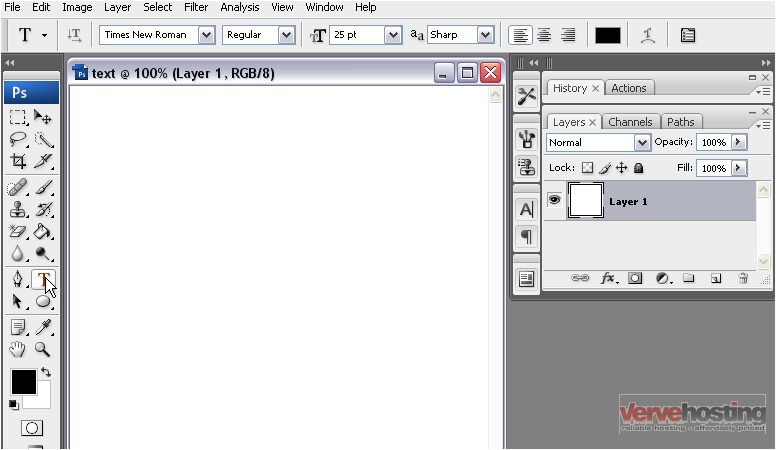
2) Click in the image where you want to add text and type in your text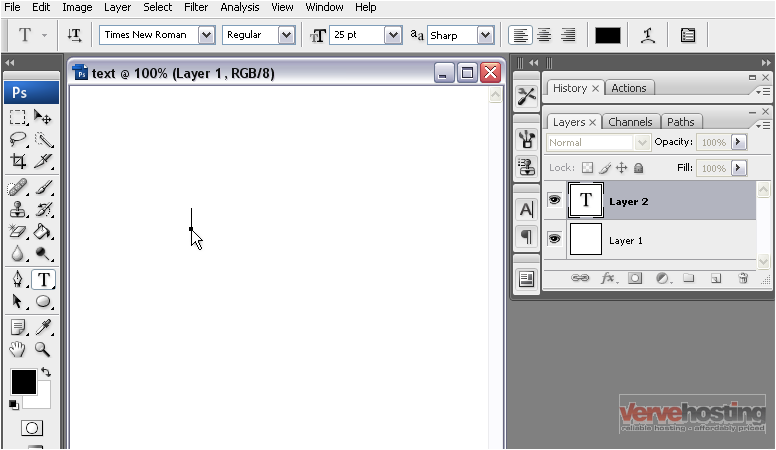
There are many options that allow you to change the font type, size, color, etc
3) Begin by highlighting the text you want to change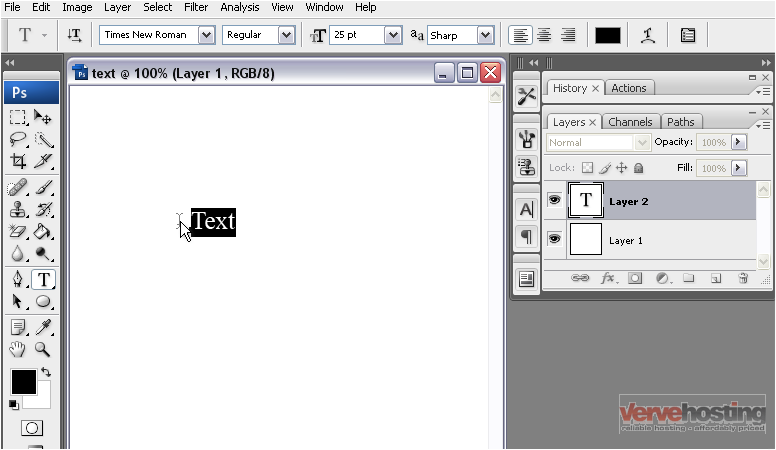
4) To change the font type, select the desired font name from the list
5) To select a font variant, make your selection from the list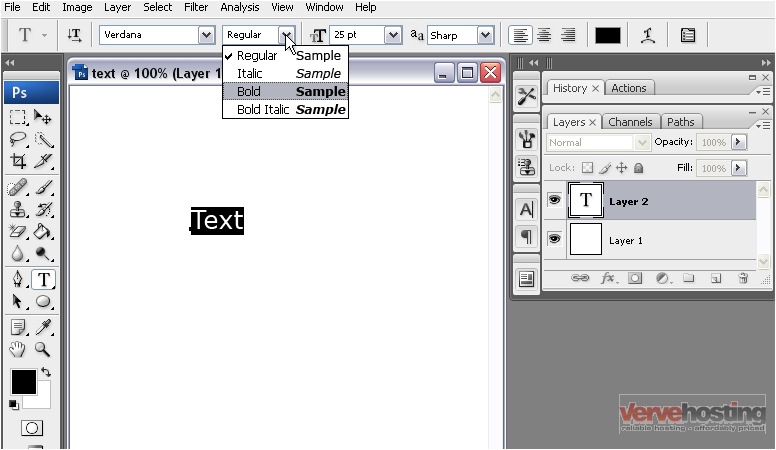
6) You can change the font size by selecting a number from the list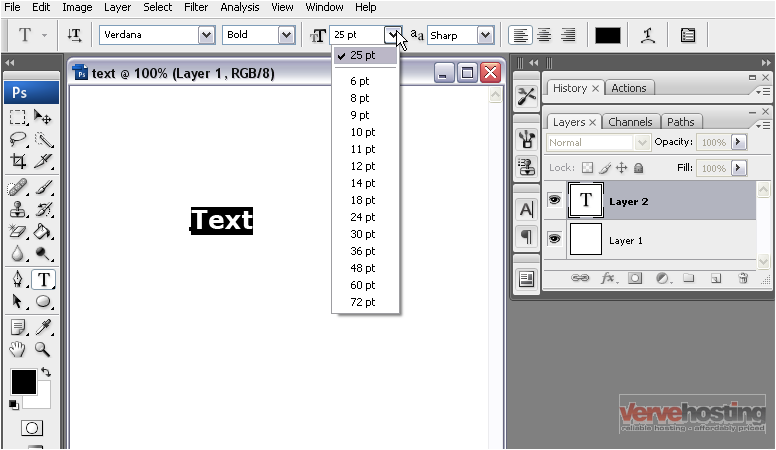
7) If the size you need isn’t listed, you can type a number in the box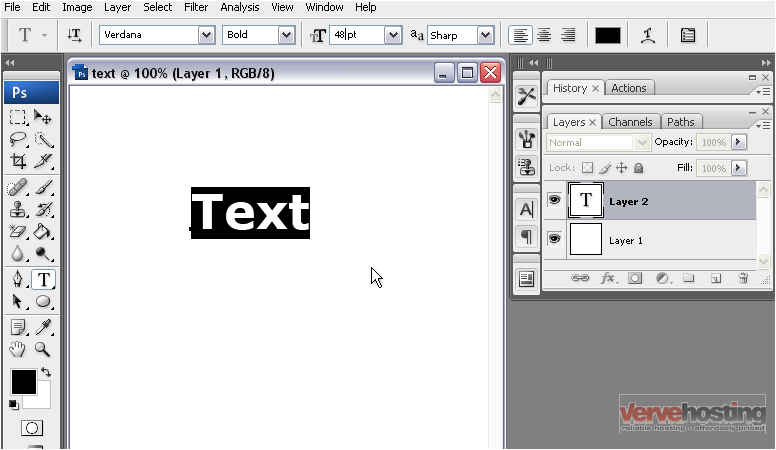
8) You can change the text alignment by selecting the icon for left, center, or right alignment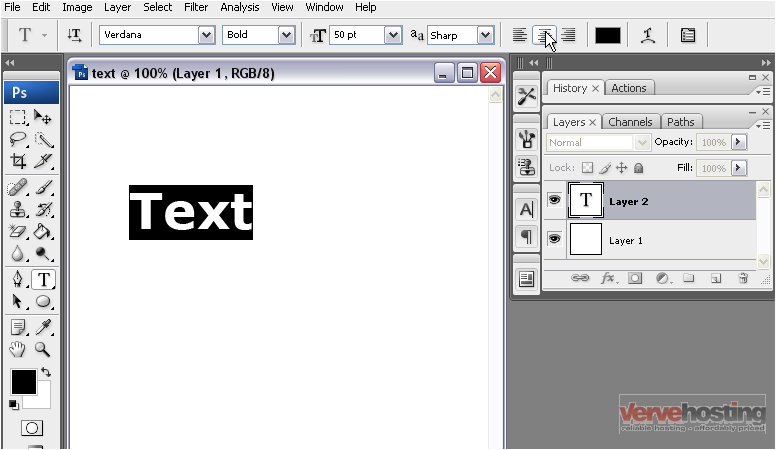
9) To change the font color, click on the colored box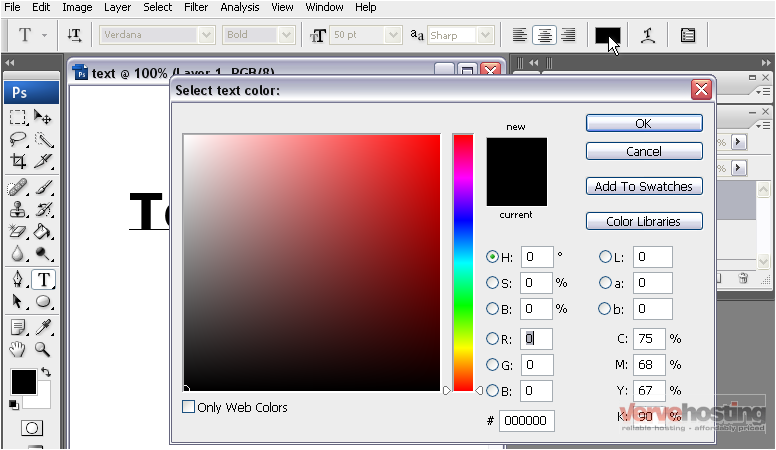
10) Select a new color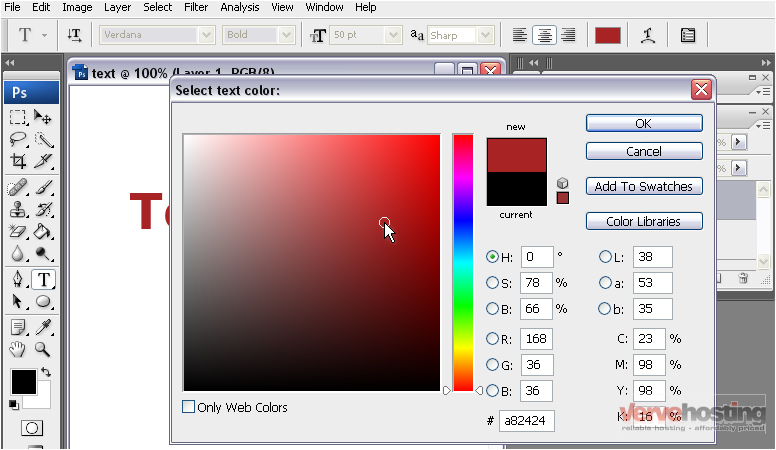
11) Select OK
12) You can move your text at any time by dragging the layer
13) You can warp your text by clicking this icon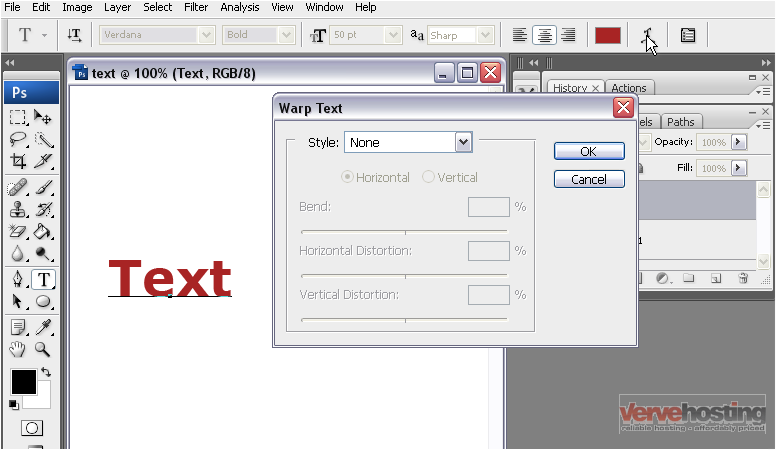
14) Select a style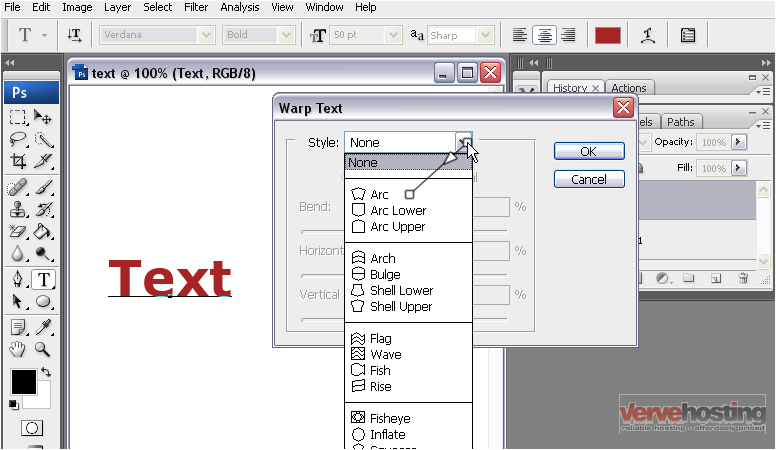
15) Adjust the sliders to make adjustments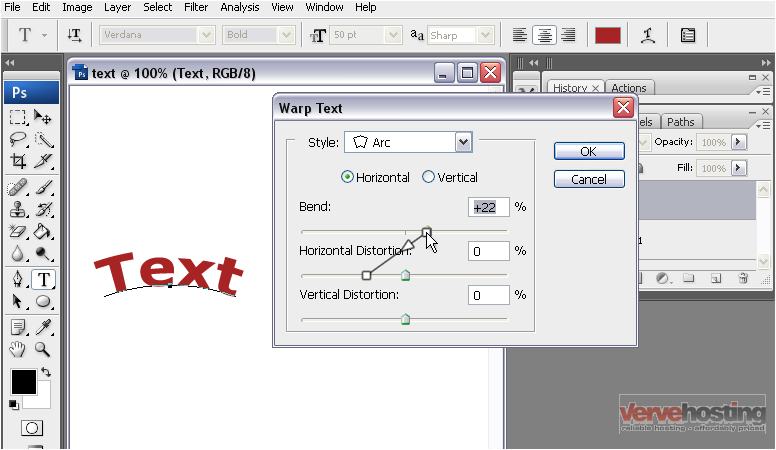
16) Click OK when you are finished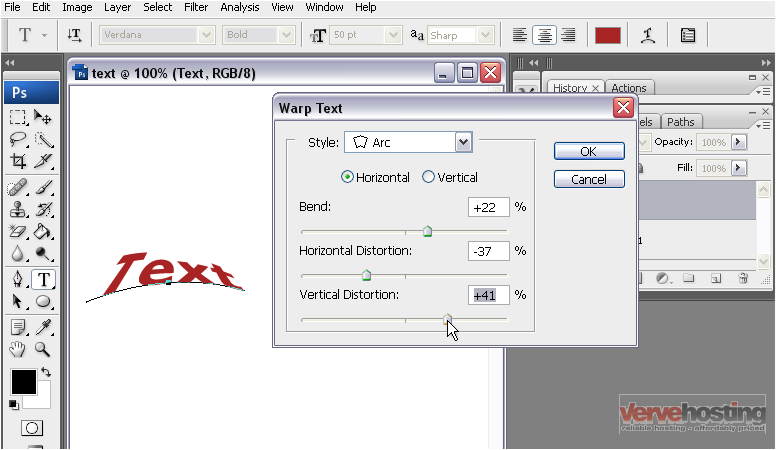
The text has been warped
17) You can also create vertical text by right clicking on the text tool…
18) …and selecting the Vertical Type Tool
19) Click where you want to add text and type in your text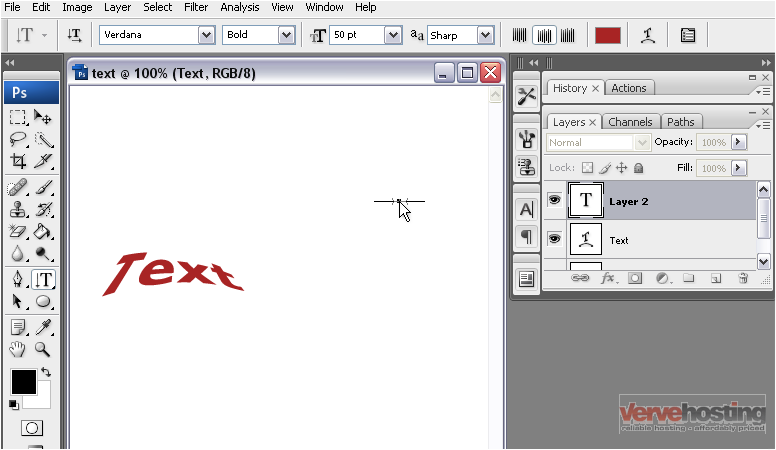
20) You can always go back and edit your existing text by right clicking and selecting the type tool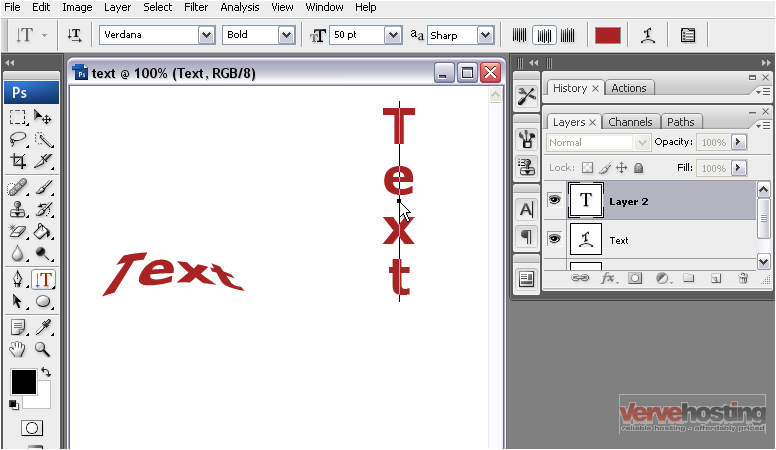
21) Click on the text you want to edit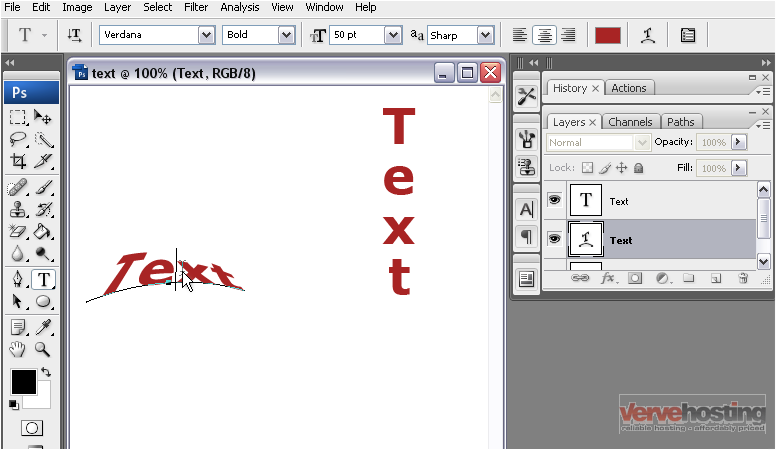
The cursor will appear and you can now edit your text
This is the end of the tutorial. You now know how to add text using the type tools in Photoshop
