This tutorial will show you the basics of layers in Photoshop
This tutorial assumes you already have your picture open in Photoshop and that it’s in the PSD format
1) The layers palette is accessible by going to the Window menu…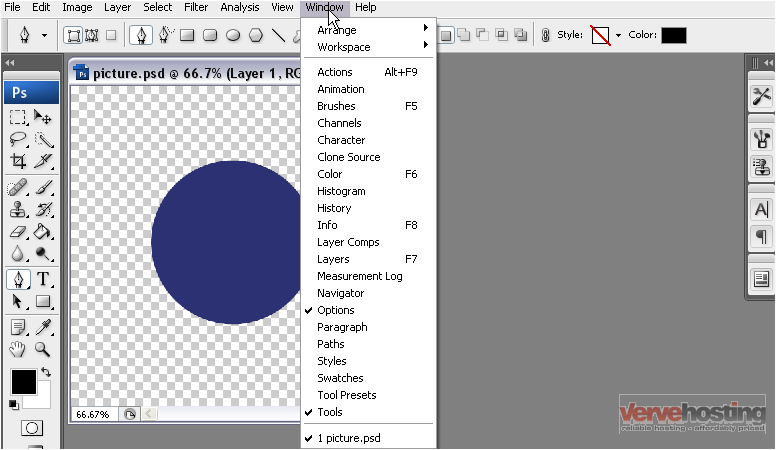
2) …and selecting Layers
Layers in Photoshop allow you to divide an image into separate parts that can be edited without affecting the rest of the image
3) To create a new layer, click this icon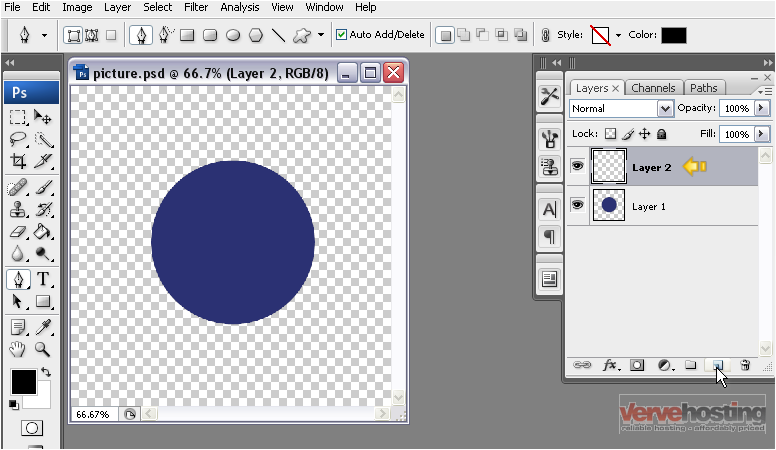
A new layer has been added to the list
4) You can copy an existing layer by clicking and dragging it down to the same icon you clicked to create a new layer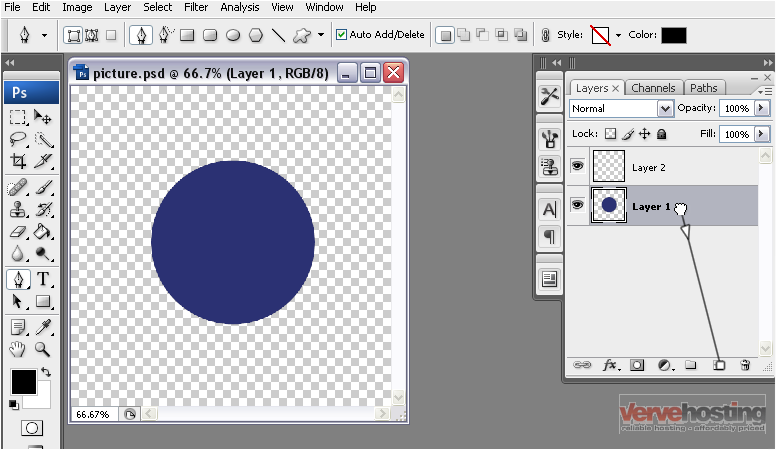
A copy of the layer has now been added to the list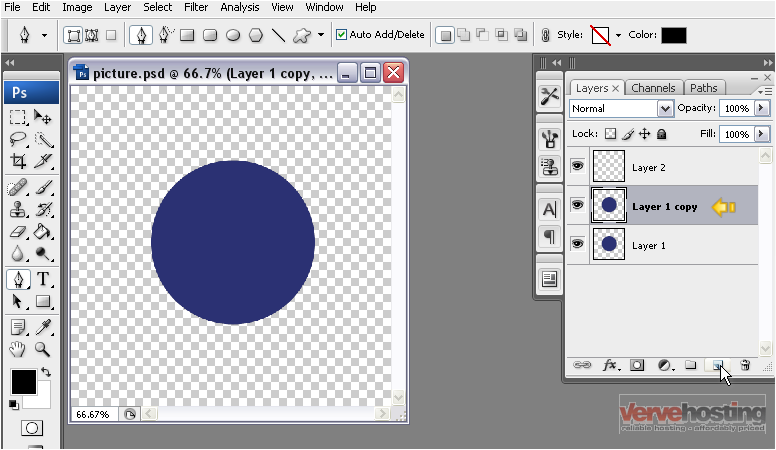
5) A layer can be renamed by double-clicking on its label
6) For the purpose of this tutorial, we will change the color of one layer for easier viewing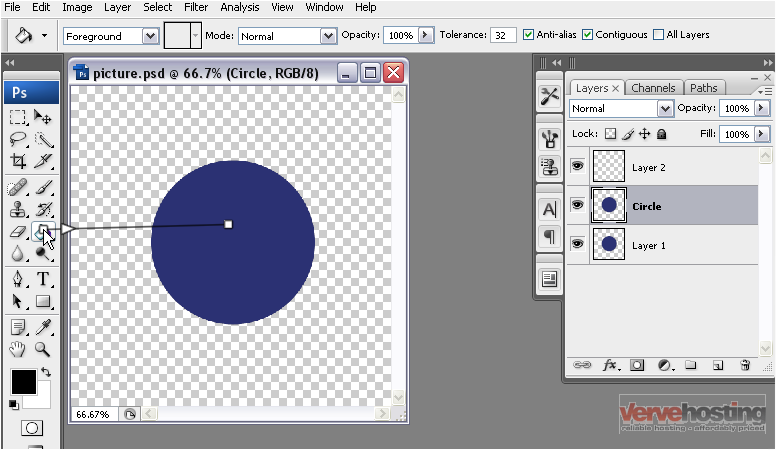
7) We will also move the selected layer so we can see the one underneath
Note how the changes affect only the selected layer and not the entire image
8) You can hide a layer by clicking the eye next to it
9) To make the layer visible again, click the box and the eye will re-appear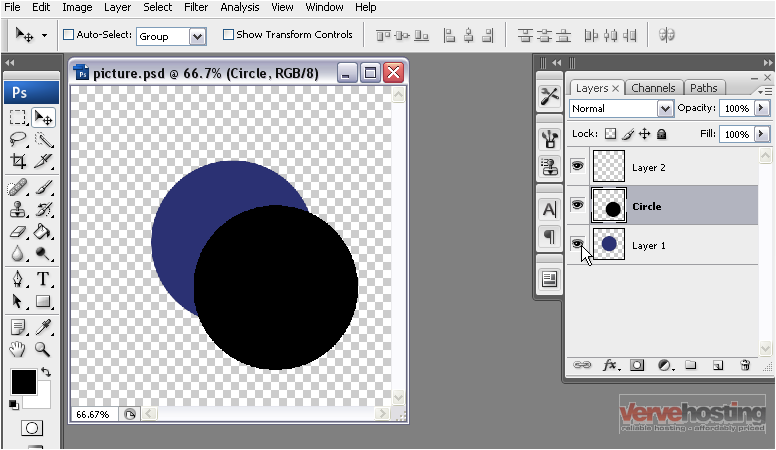
10) You can re-order the layers by clicking and dragging them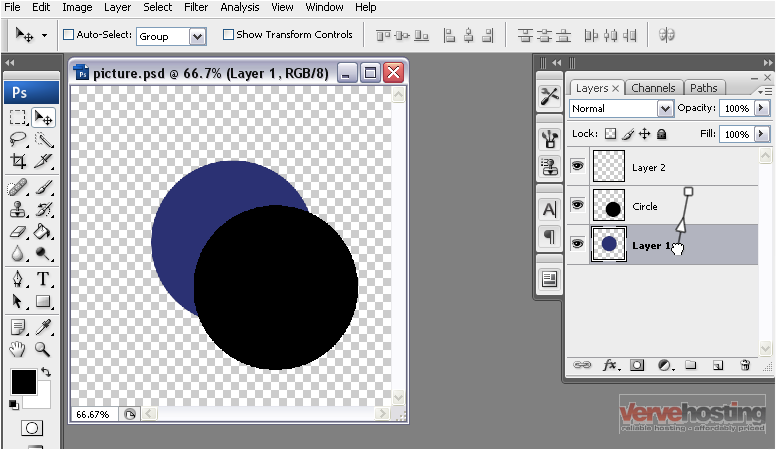
Note that the blue circle is now on top instead of the black one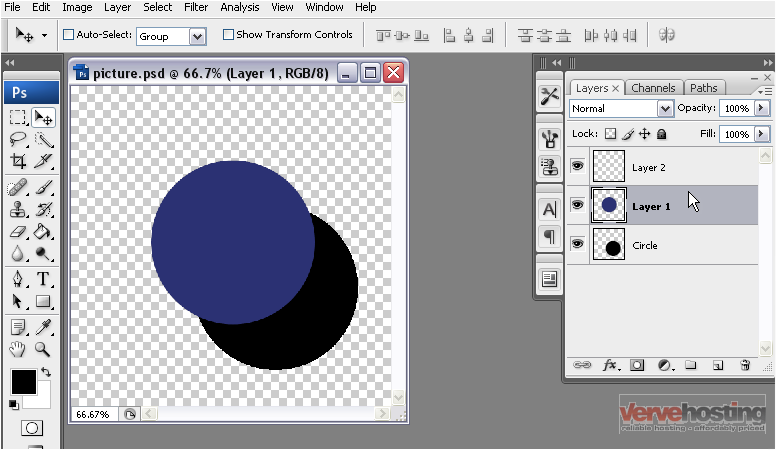
11) You can change the opacity of the selected layer by clicking the arrow…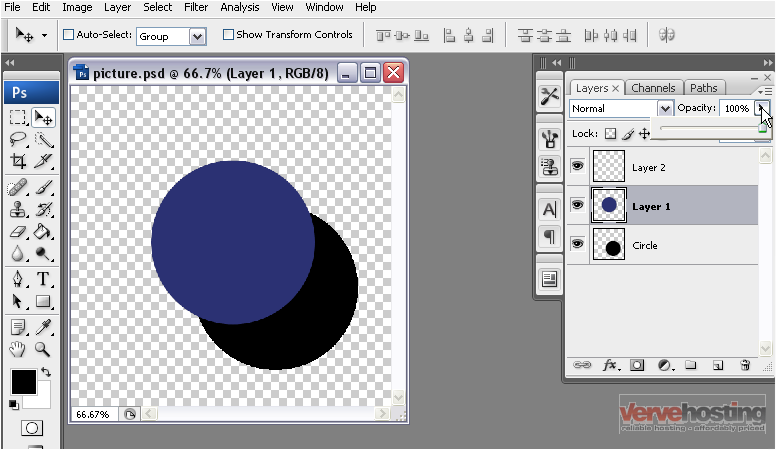
12) …and adjusting the slider
Photoshop also allows you to link multiple layers together. This is useful if you want to move them together
13) While holding down the control key, select the layers you want to link together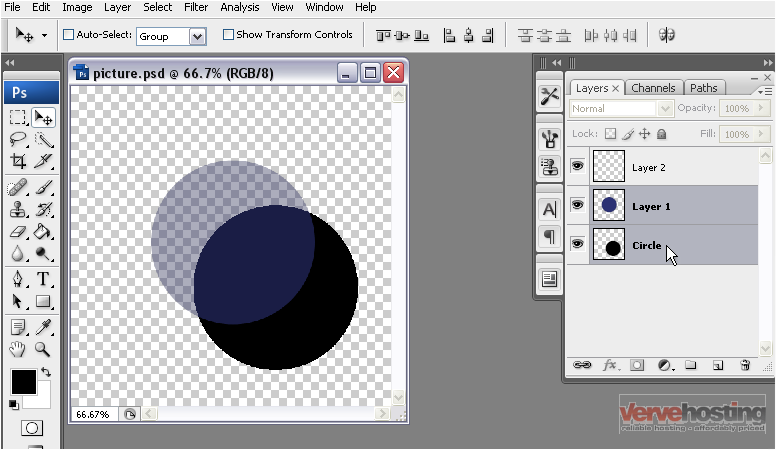
Note that the blue circle is partially transparent
14) Now, select the Link Layers icon
15) Now that they are linked, we can select one layer…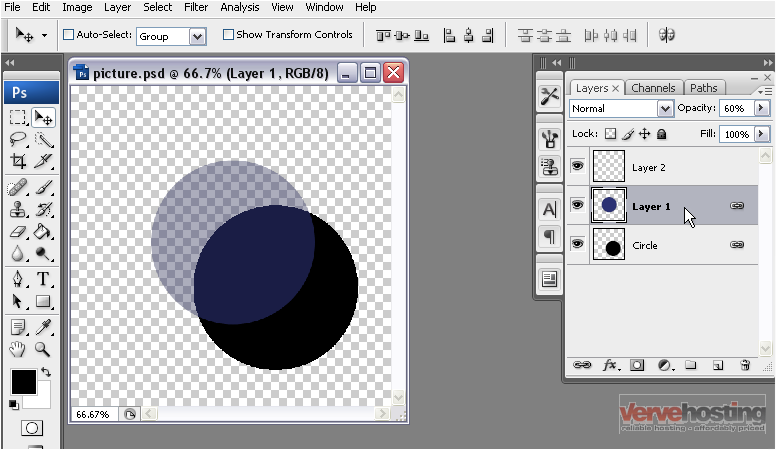
16) …and move it
Note that the linked layers have moved together
17) To unlink the layers, click the Link Layers icon again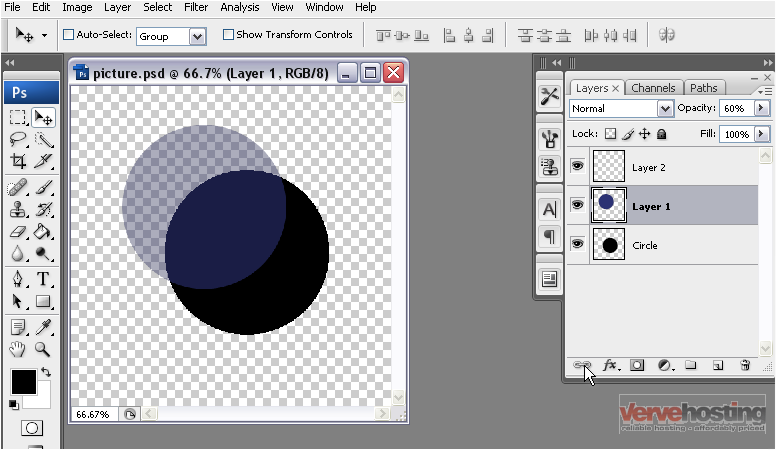
18) If you want to prevent any changes from being made to the selected layer, click the “Lock all” icon
19) Now, if we try to move the selected layer…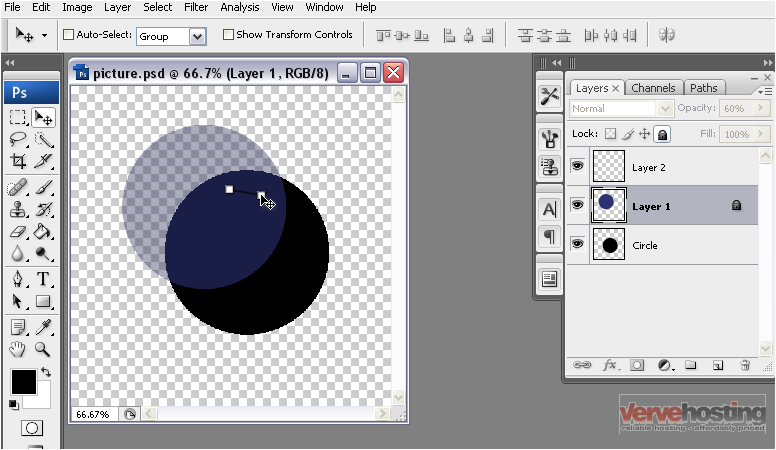
…an error message will pop-up
20) Click OK
21) To unlock the layer, simply click the Lock icon again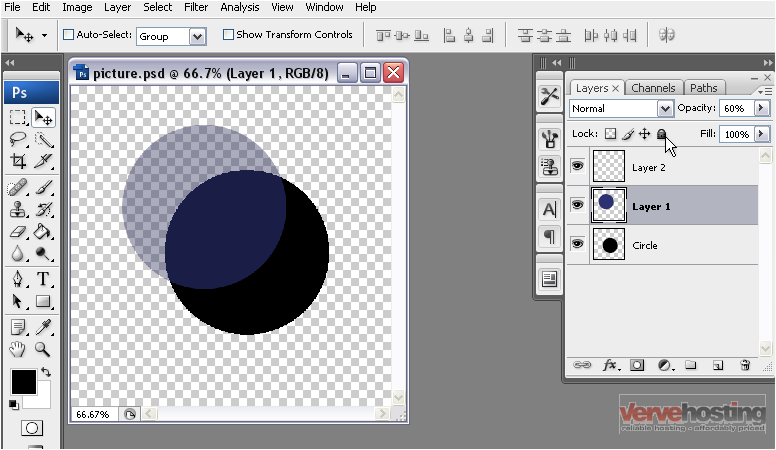
You can also group layers together for easier editing and viewing
22) To create a new group, click the folder icon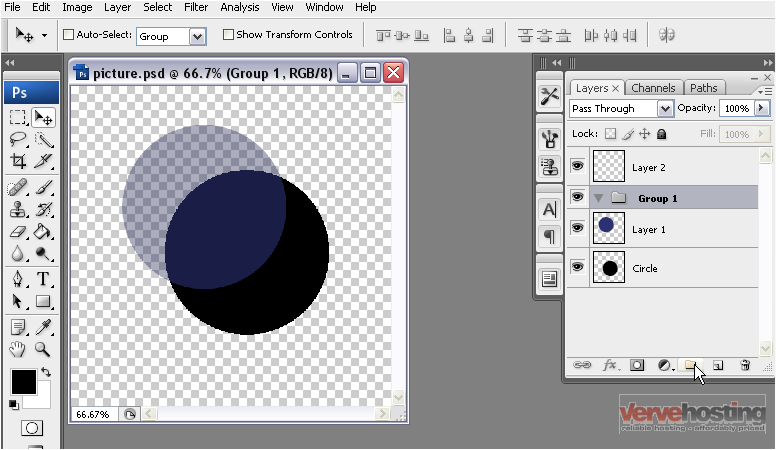
23) Alternatively, a layer’s pixels and/or its position can be locked by clicking one of the other icons to the left of “Lock all”
24) Now, while holding down the control key, select the layers you want in the group…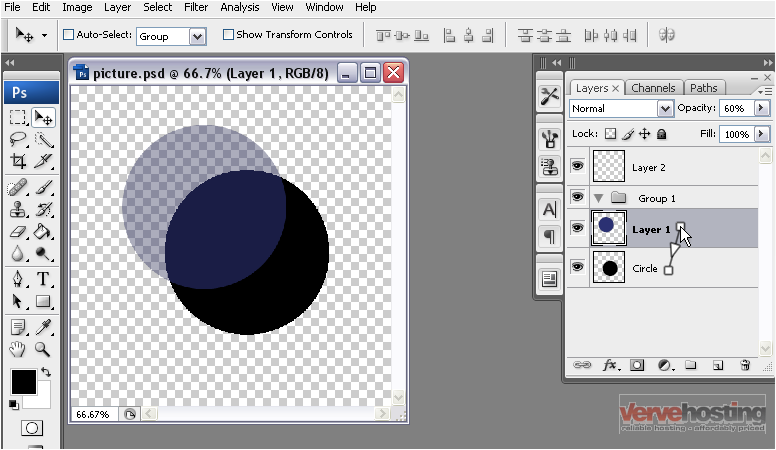
25) …and drag them into the folder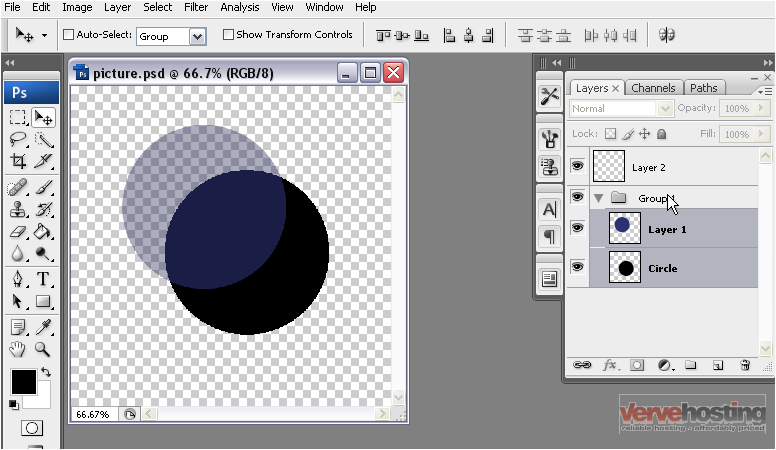
26) You can collapse a group so that its layers don’t show up in the list by clicking the arrow next to the folder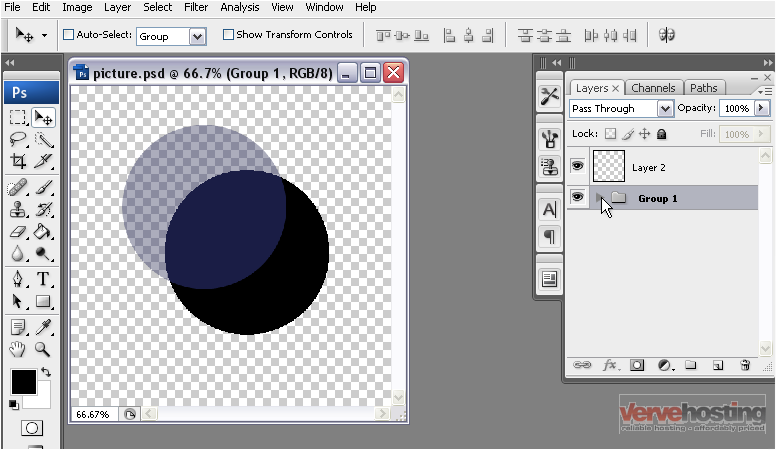
27) To make them visible again, click the arrow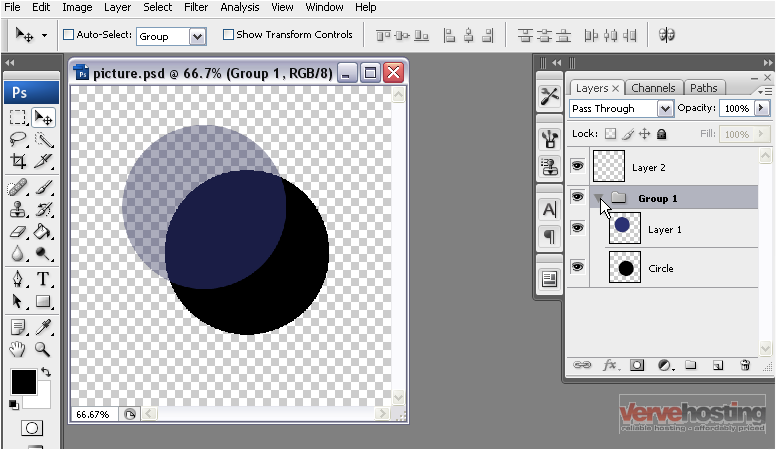
28) To delete a layer, select the layer…
29) …then click the trash can icon
30) Click Yes in the message that appears
Success! The layer has been deleted
This is the end of the tutorial. You now know the basics of layers in Photoshop
