This tutorial will show you how to use the brush and pencil tools along with the brushes palette
This tutorial assumes you already have your picture open in Photoshop
1) Select the brush tool from the toolbar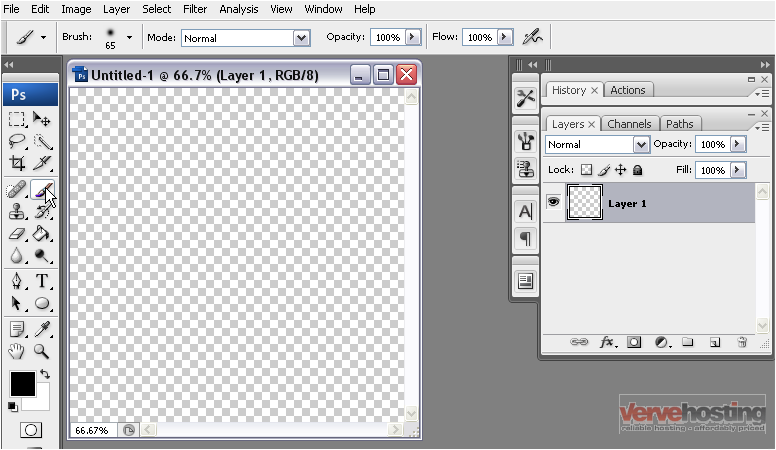
2) Click and drag to paint
Note that the foreground color will always be used
3) To change or edit the current brush tool, select the arrow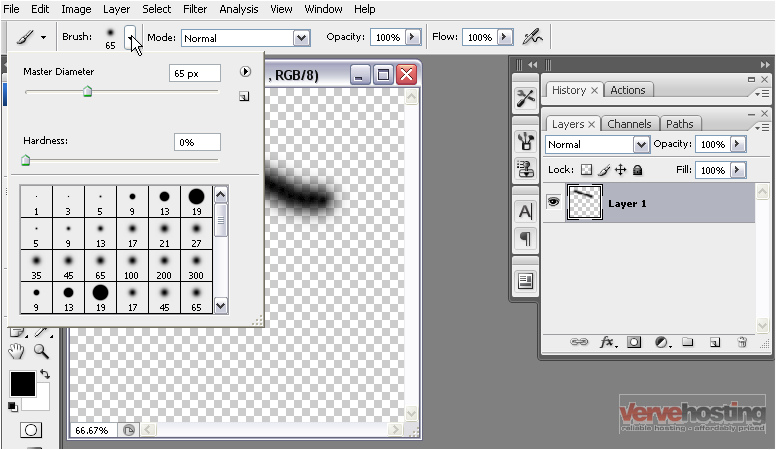
4) Change the diameter by adjusting the slider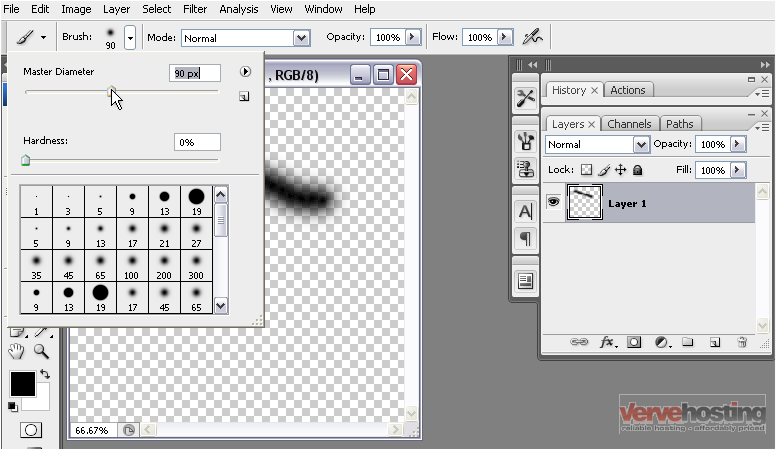
5) Adjust the slider to make the edges of the brush more or less opaque
6) Close the dialogue by clicking in the image or clicking the arrow again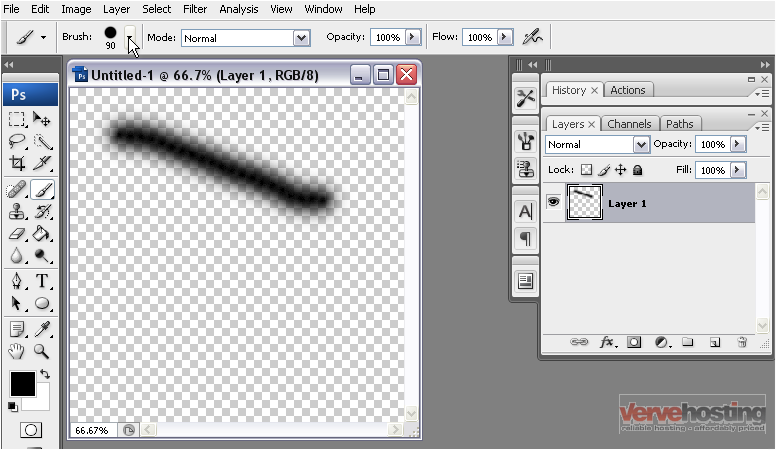
7) Now click and drag in the image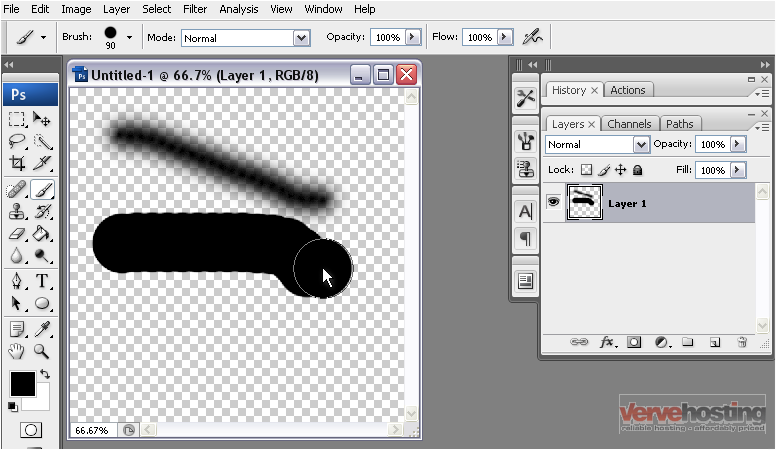
Notice that this brush stroke is bigger and not faded like the last one
You can change the opacity here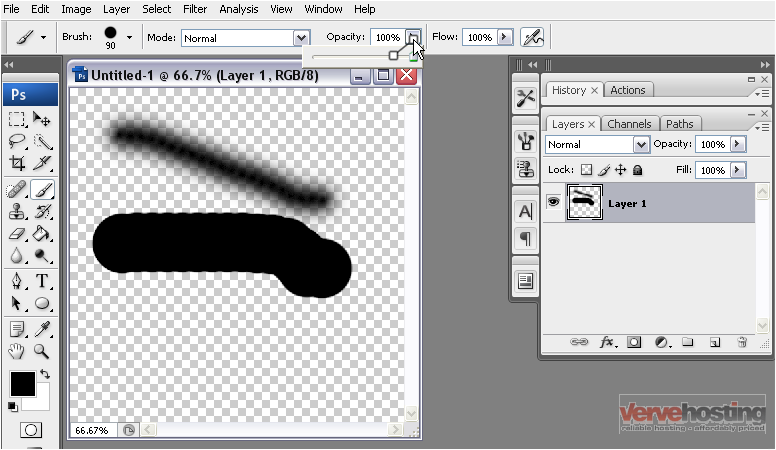
8) Create another brush stroke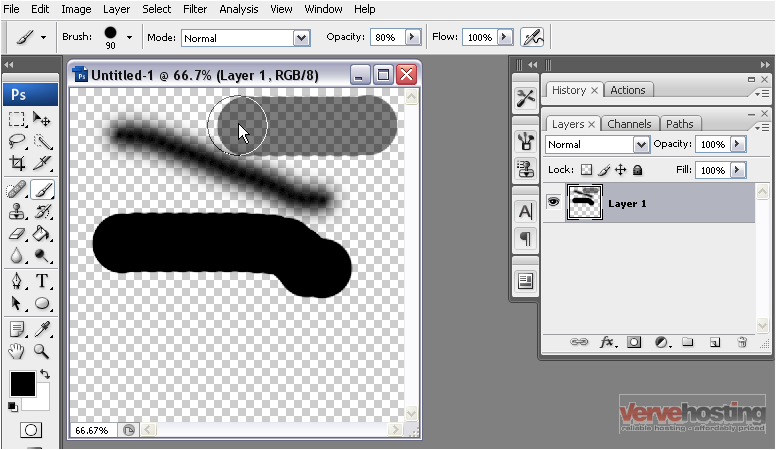
Notice the difference between adjusting the brush hardness and the opacity. The hardness affects only the edges of the brush, while the opacity affects the enitre brush
Now, we’ll learn about the brushes palette, which can be opened by going to the Window menu
9) Select Brushes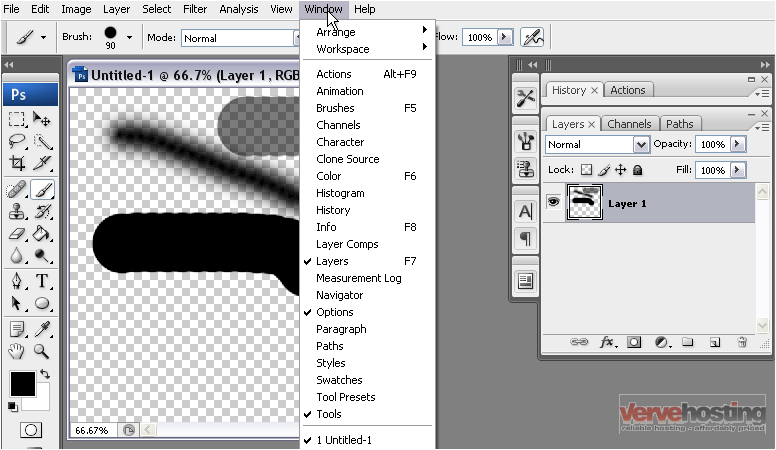
This palette allows you to make many adjustments to your brush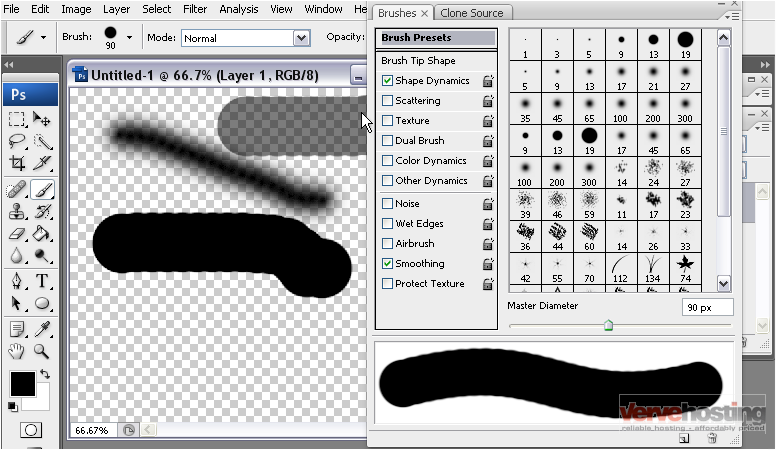
10) You can select another brush preset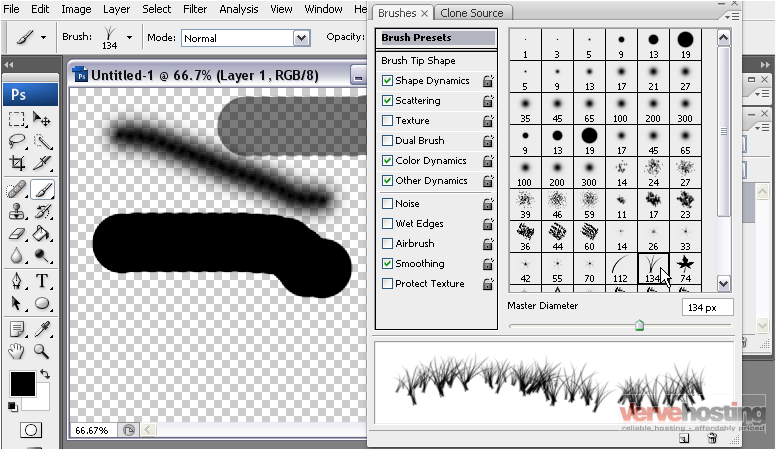
11) Create another stroke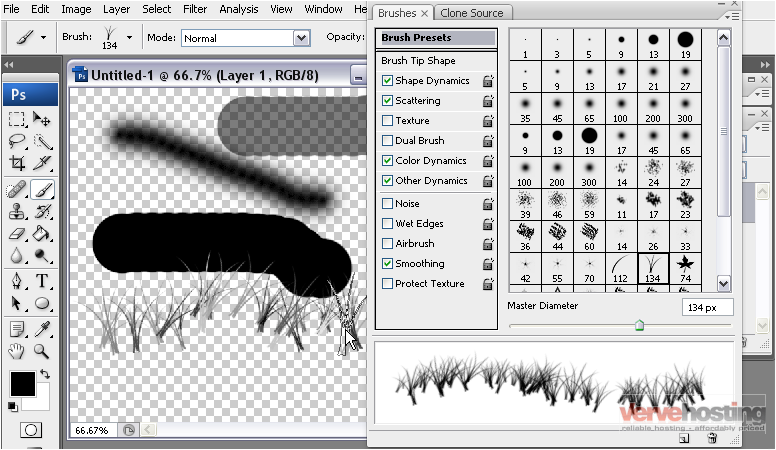
You can see more options under Brush Tip Shape
This will allow you to change things like the diameter, angle, and roundness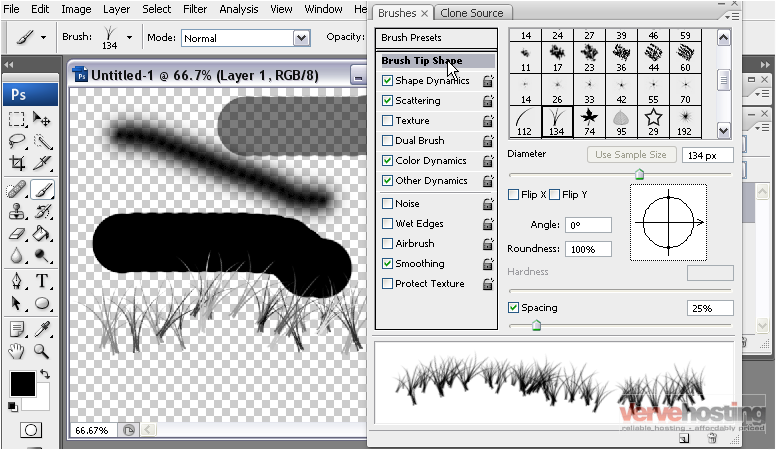
Or, you can adjust the spacing
Notice that this brush stroke is less dense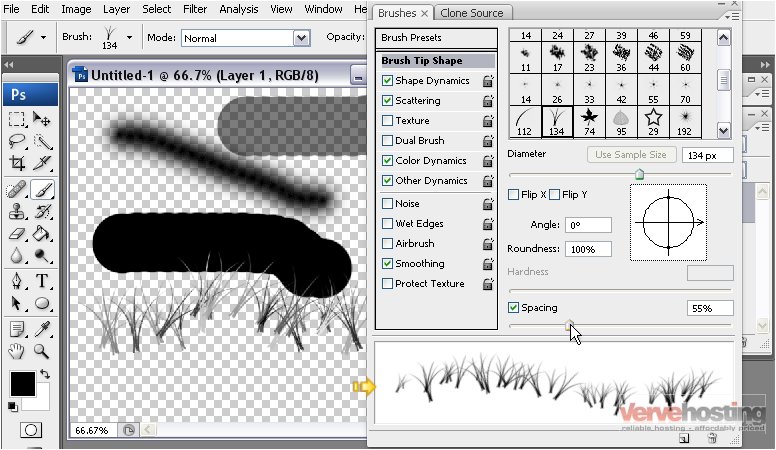
12) You can adjust the shape dynamics here
This gives you more options to choose from, such as size jitter, minimum diameter, and roundness jitter
13) Adjust the slider to change the angle jitter
14) Use the slider to adjust the roundness jitter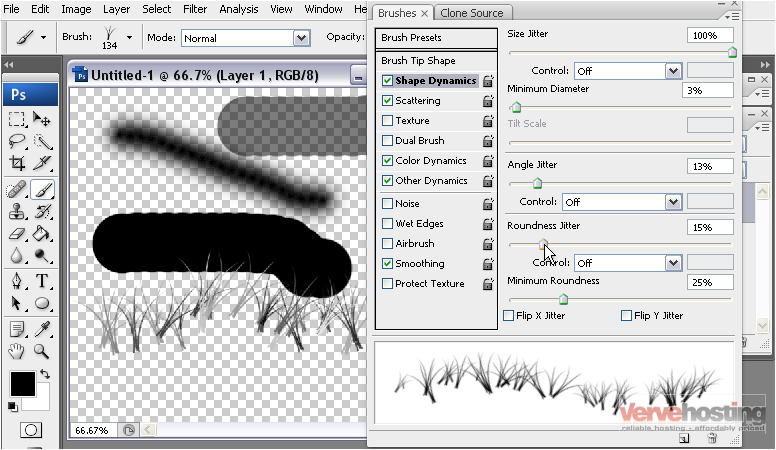
15) Click here to see scattering options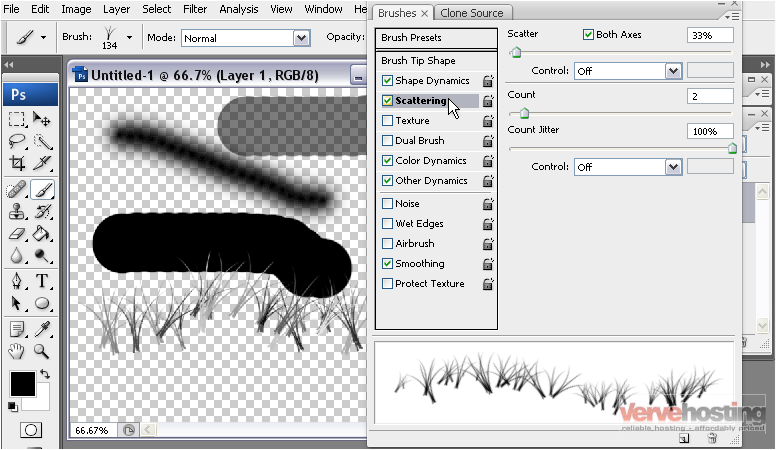
Adjusting the scatter setting spreads the strokes out more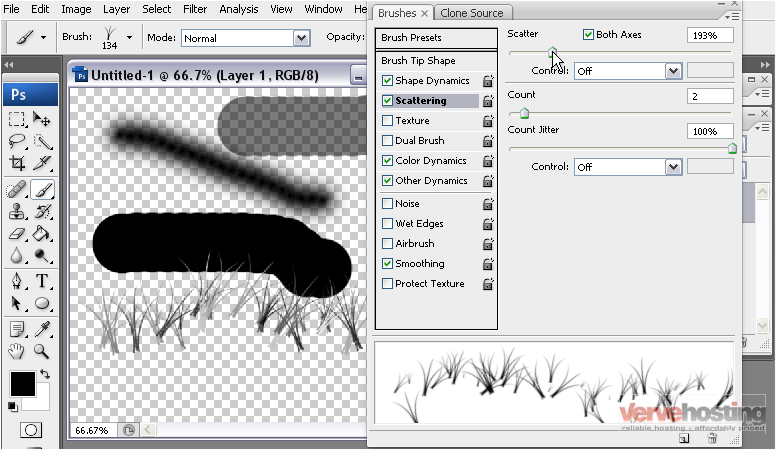
Increasing the count makes the strokes more concentrated together
Adjust the texture settings here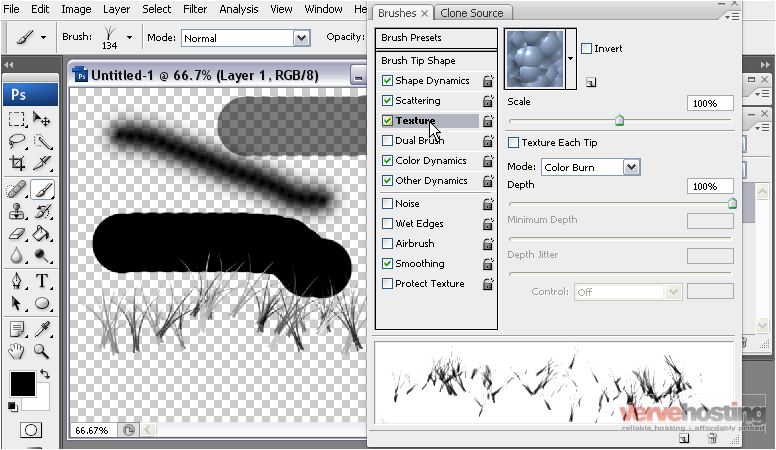
You can select a texture and adjust the settings
16) Turn off any options you don’t want applied to your brush by unchecking the box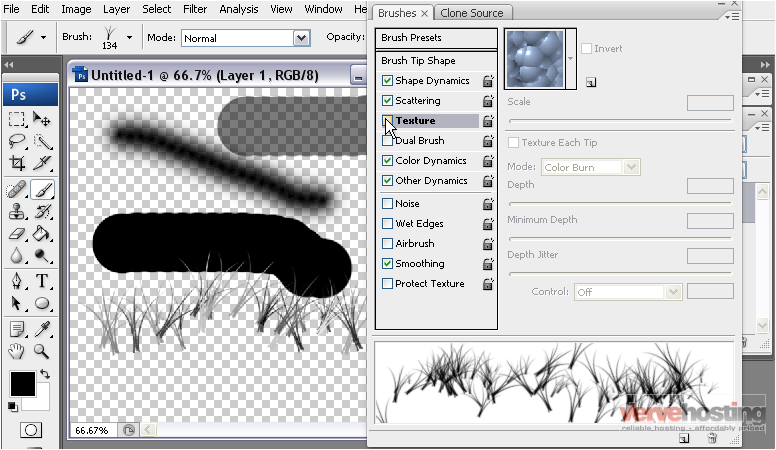
17) Select dual brush settings here
This gives you settings to change such as diameter, spacing, scatter, and count
18) We will uncheck these options for this tutorial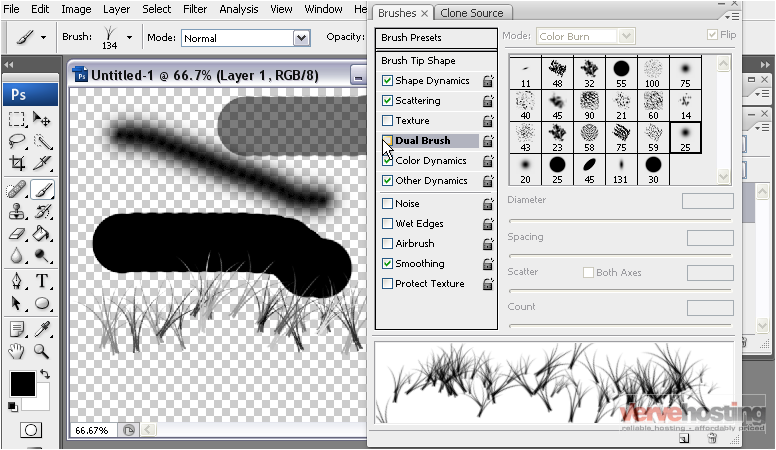
19) Adjust color dynamics here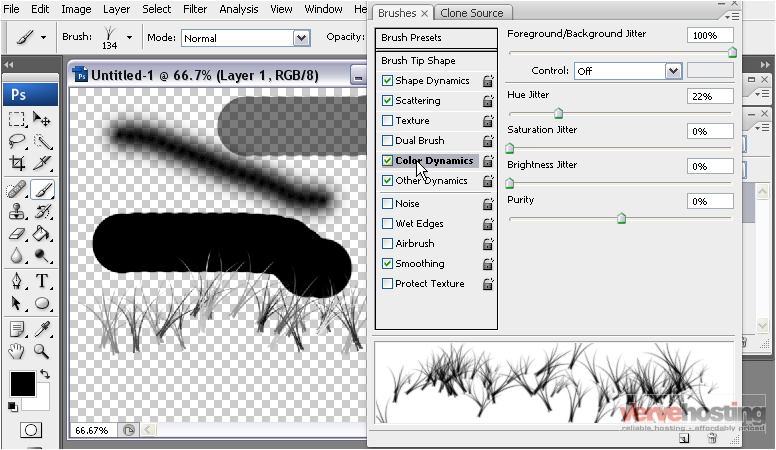
You can adjust the hue, saturation, and brightness jitters by moving the sliders
20) Adjust other dynamics here
This allows you to change the opacity and flow jitter
You can add noise, wet edges, an airbrush effect, smoothing, or protect the texture by checking any of these boxes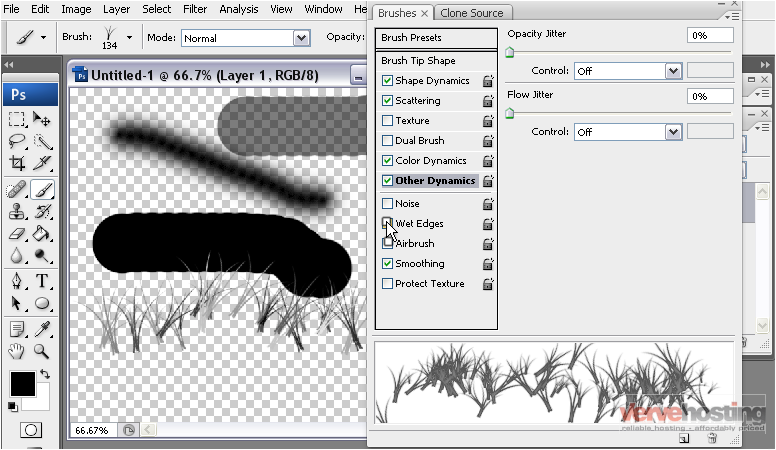
21) Now click and drag in the image to create a brush stroke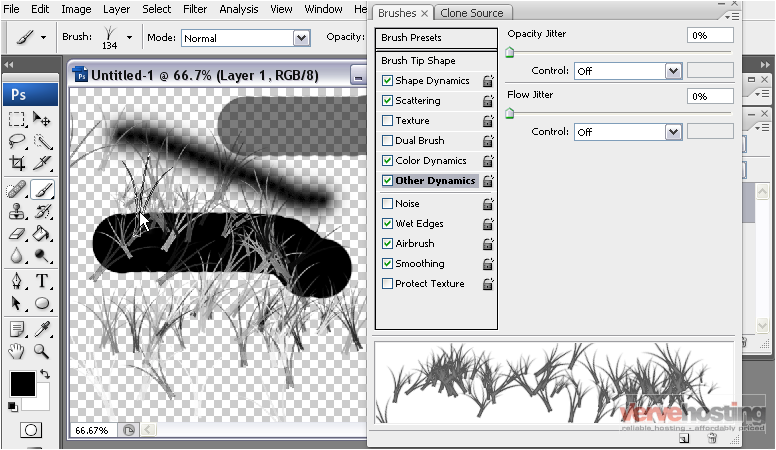
22) Right click and select the pencil tool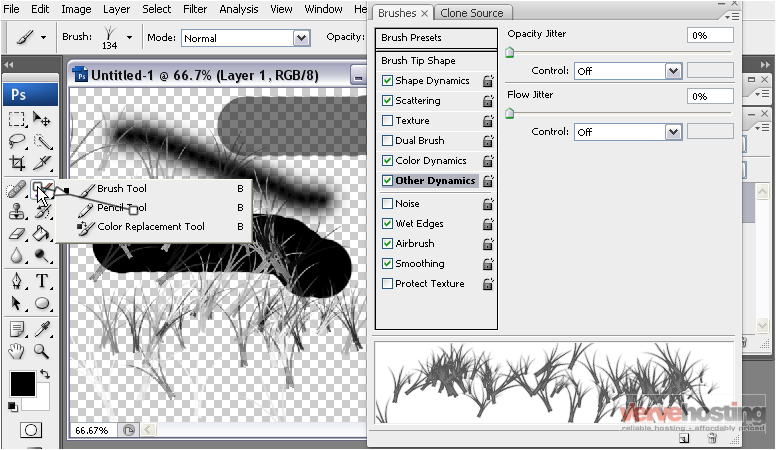
23) Click and drag in the image to draw a line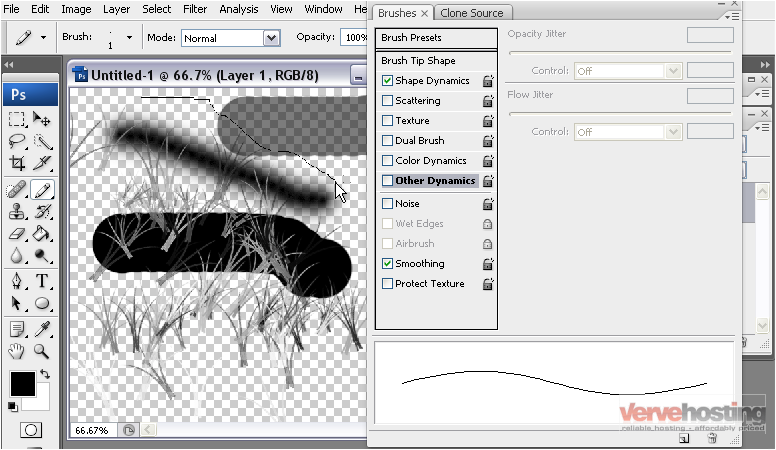
The pencil tool is similar to the brush tool and has many of the same options which can be selected in the brushes palette
This is the end of the tutorial. You now know how to use the brush and pencil tools and the brushes palette in Photoshop
