This tutorial will show you how to download and install the PayPal plug-in
1) Click Products & Services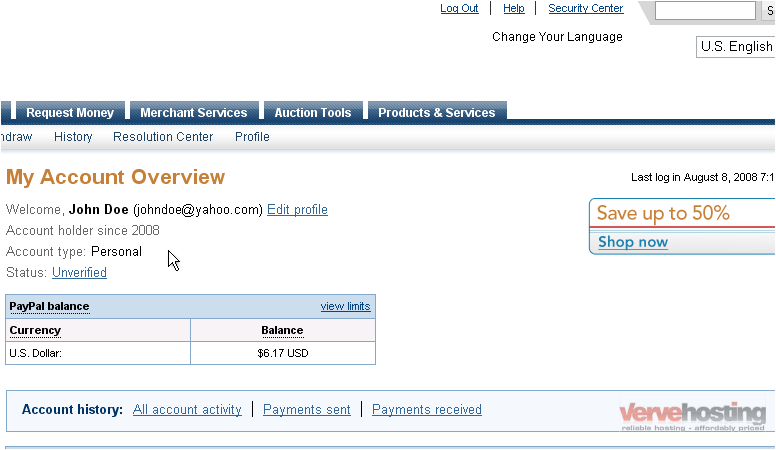
2) Click the PayPal Plug-In link
3) Click Download Now
A dialog box will pop-up asking what you want to do with the file
4) Click Save File
You may be asked to select the download location. It is recommended you save the file to your desktop as it will be easy to find
The download window will show how big the file is, the estimated download time, and how fast the file is downloading
Once the file has finished, go to the location where you downloaded it, in this case, the desktop
5) Double click the EXE file
In some versions of Windows, you will probably be warned that this file could potentially be harmful
6) Click Run to proceed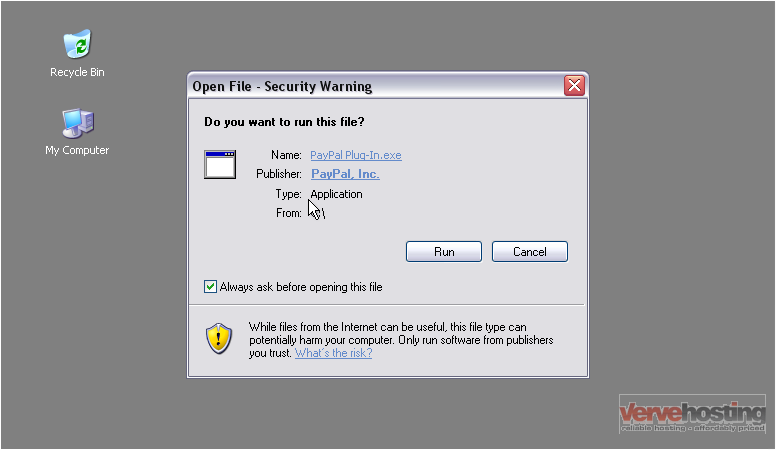
The progress bar will show you approximately how much time is left while the file is preparing to install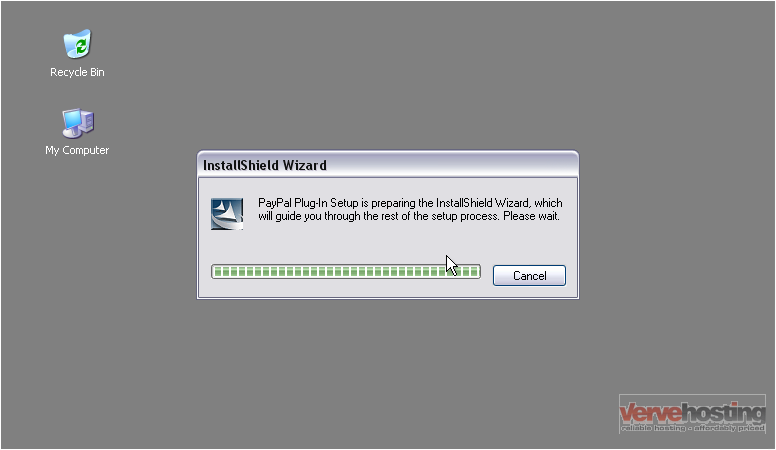
If you have any browser windows open, you can either close them now or let the installer do it for you
7) Click Continue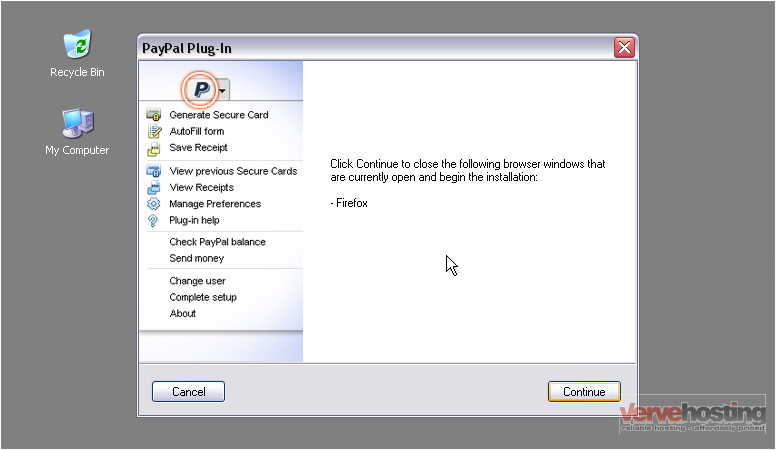
Once finished, the program will open your default browser, in this case, Mozilla Firefox
Go to your browser
The installation process shouldn’t take more than a few minutes. The bar below will show you the progress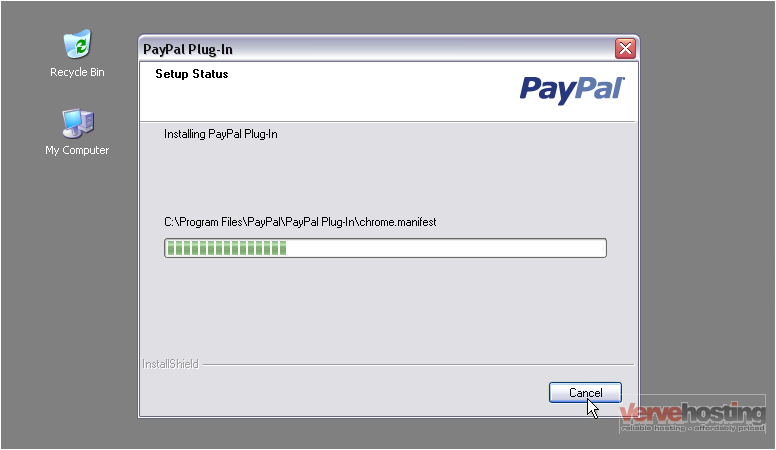
In Firefox, the Add-ons window will pop-up and show you any recent installs. It will highlight new installations in yellow
Go to your browser
PayPal will open this page by default saying you have installed the plug-in successfully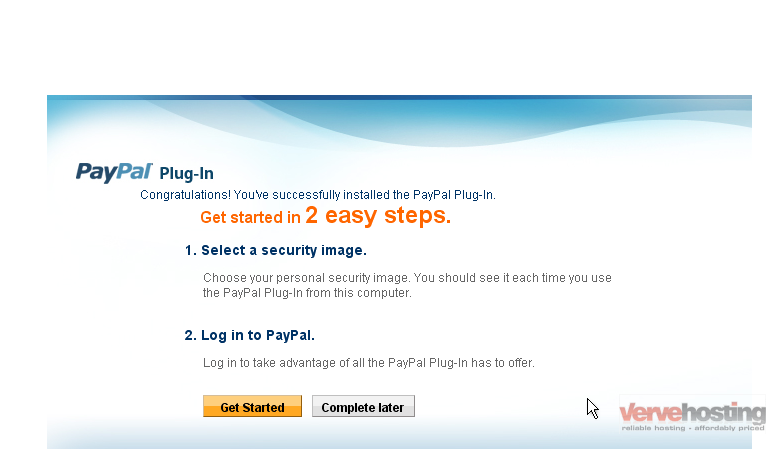
You now have the option to select a security image that will be displayed each time you use the plug-in from this computer. It is recommended you do this now
8) Click Get Started
A box will drop down from the top of the window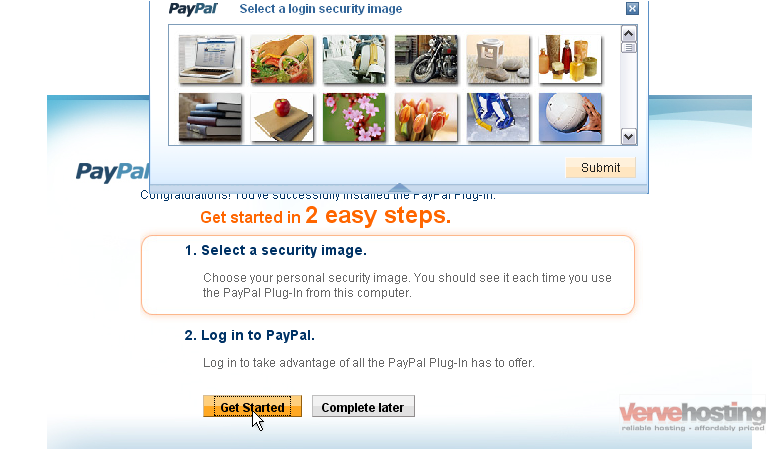
9) Select an image of your choice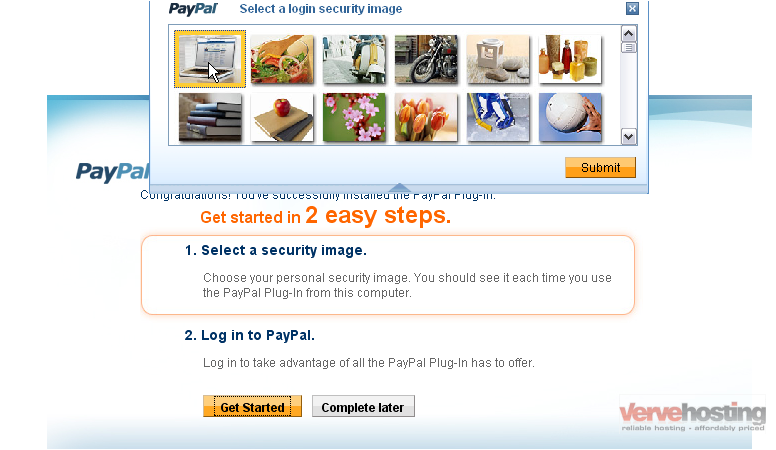
10) Click Submit
You will now need to log-in to PayPal. If your security image is missing or not the one you selected, don’t log-in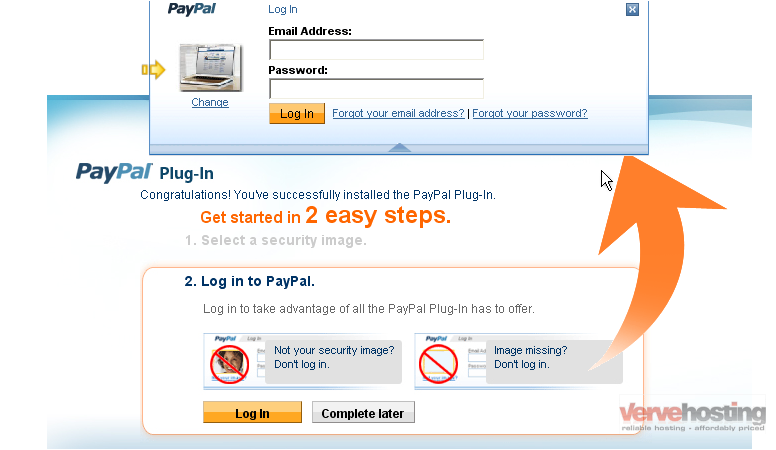
11) Enter the email address you used to sign up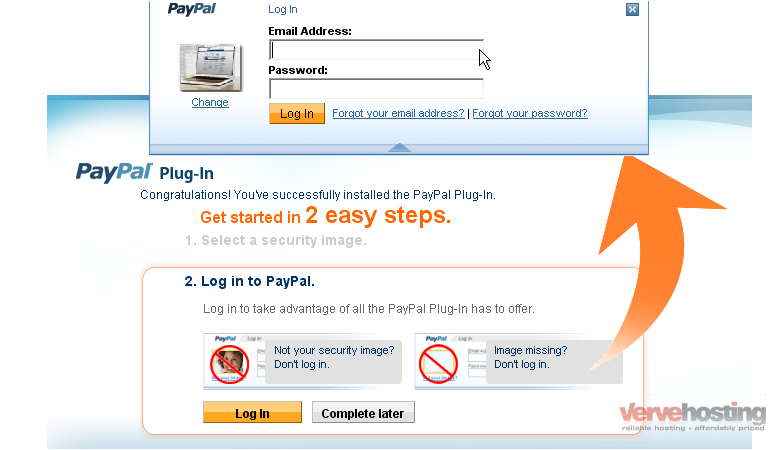
12) Enter your password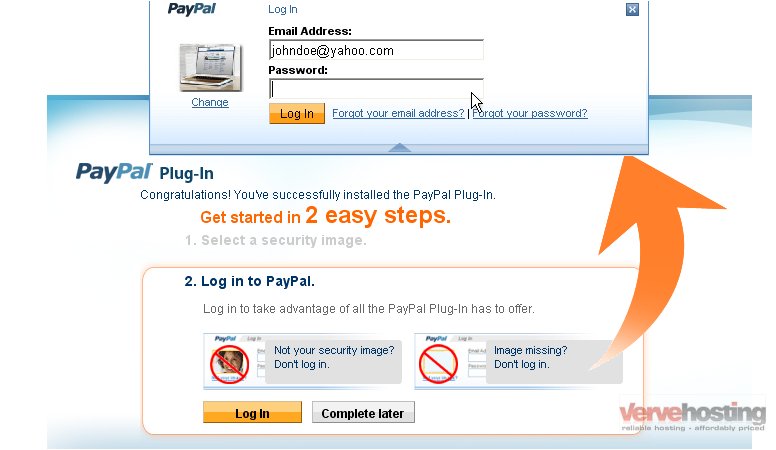
13) Click Log In
Success!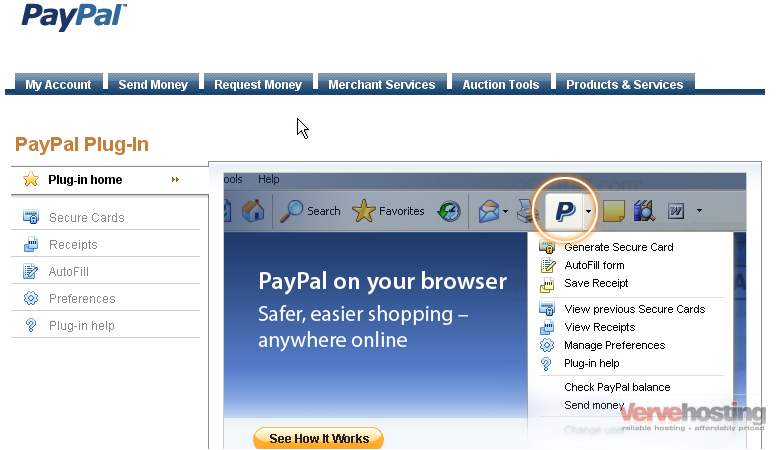
This is the end of the tutorial. You now know how to download and install the PayPal plug-in

