For the most part, all scripts in Softaculous install the same way with a few minor differences.
1) First, scroll down the list on the left until you find the script you want to install.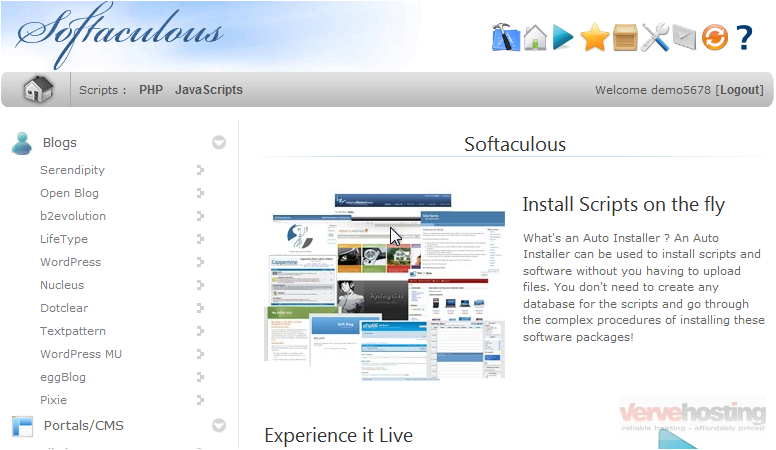
2) Let’s choose Textpattern.
This first page shows you an overview of the software including a description and average user rating. If you decide this script doesn’t fit your needs, simply choose another one.
3) Go to the Features tab.
Here we can see a full list of the features this software has.
4) Click this tab to try a demo of this software before installing.
5) When you are done looking at the demo, return to Softaculous.
6) Click Ratings.
This page shows the number of ratings this software has received and the average rating.
7) Go to Reviews.
Here you can read user reviews about this script.
At the bottom of the page is a form you can fill out to leave your own review after you have tried this software.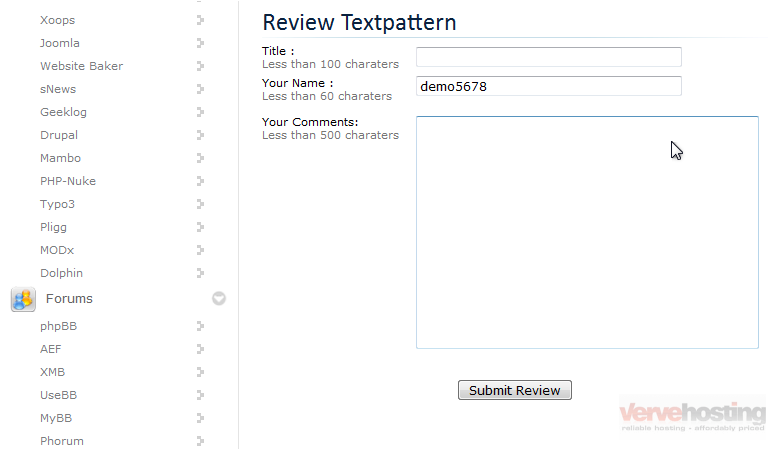
8) Click Import.
If you already have this software installed through another auto installer or manually, you can import it to be managed by Softaculous.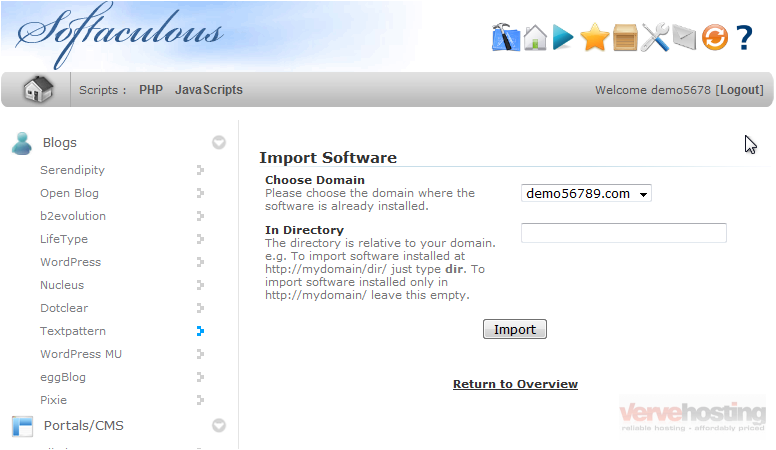
9) When you are ready, go to Install.
The options on this page should be similar for all scripts in Softaculous, and the defaults can be used for most purposes.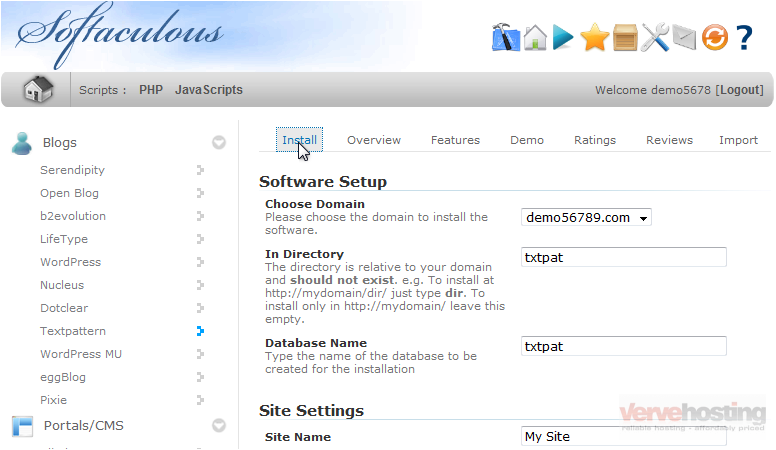
10) If you have multiple domains, select the one where you want this script installed.
11) The next two boxes let you set the directory and database name which will be created upon installation.
12) You can set the Site Name and Description here. These can be changed later from the admin panel of the software.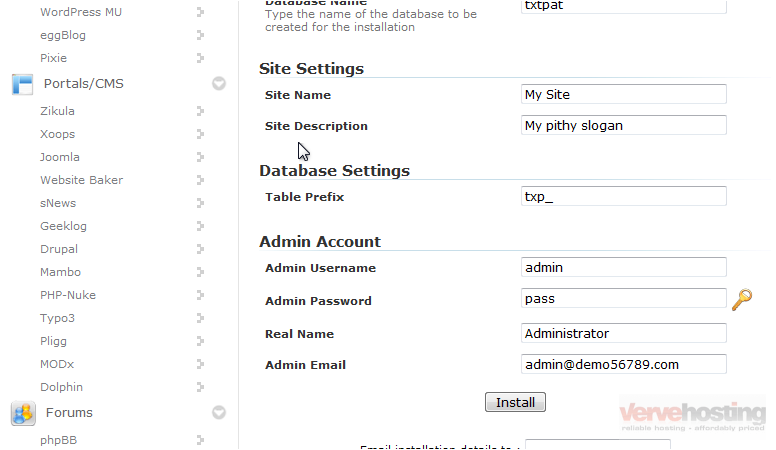
13) Enter the admin password and email. Also enter a Real Name that will be displayed and the admin’s email.
14) Click Install.
After a moment, the software will be installed.
The two links here can be used to go to your new site and its admin panel.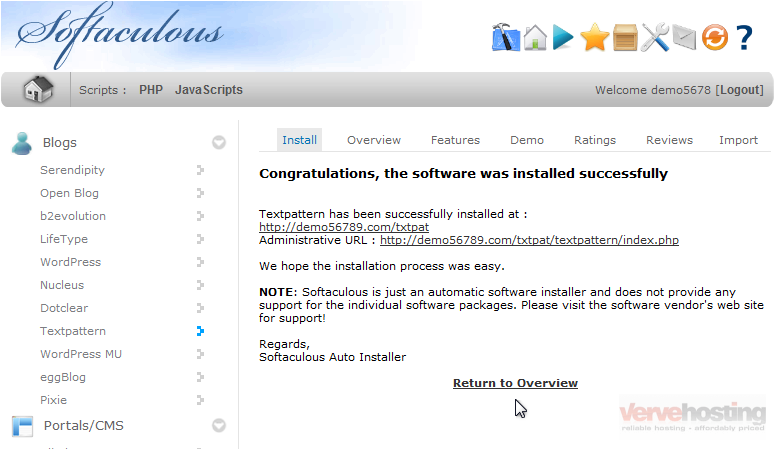
That’s it! You now know how to install a script in Softaculous.

