This tutorial assumes you’ve already logged in to Horde webmail. Now let’s learn how to create calendar entries.
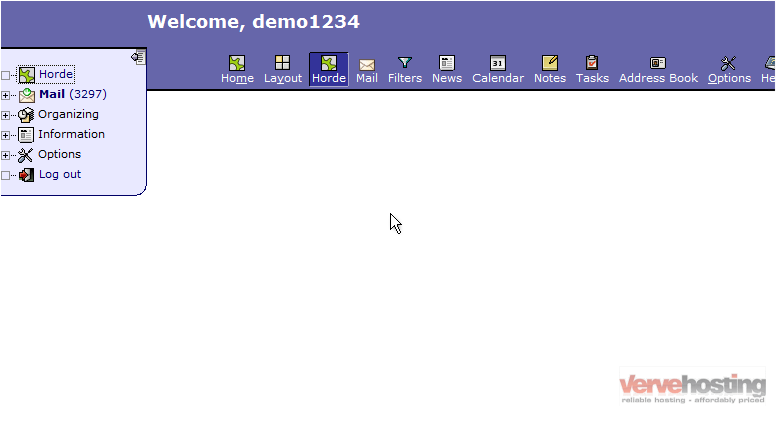
1) Click the Calendar icon in the top navigation bar.

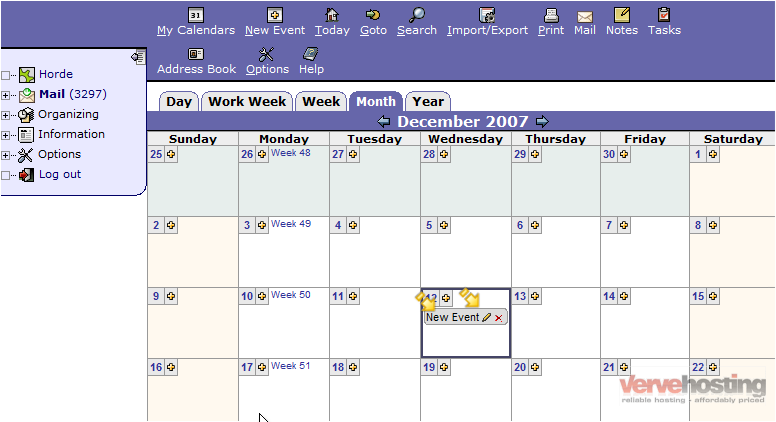
2) This is the calendar. We can view the calendar in day, week, month or year format. We’re currently in month format. We can add a new event by clicking on the plus “+” icon next to the day…

3) … or by clicking New Event here. Enter a Title for the new event.

4) Then enter a Location for the event. You can optionally set the Start and End date of the event here as well.

5) Enter a Description here

6) If you want to set this event up to recur every so often, you would do that here. When finished, click Save Event

7) That’s it! The new event has been created and can be seen here. You can edit the event at any time by clicking the pencil icon next to the event… or you can delete the event by clicking the red X icon… let’s do that now.

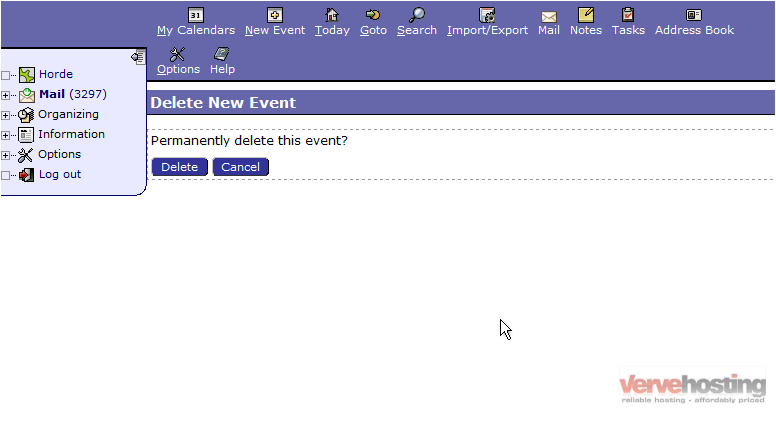
8) Click Delete

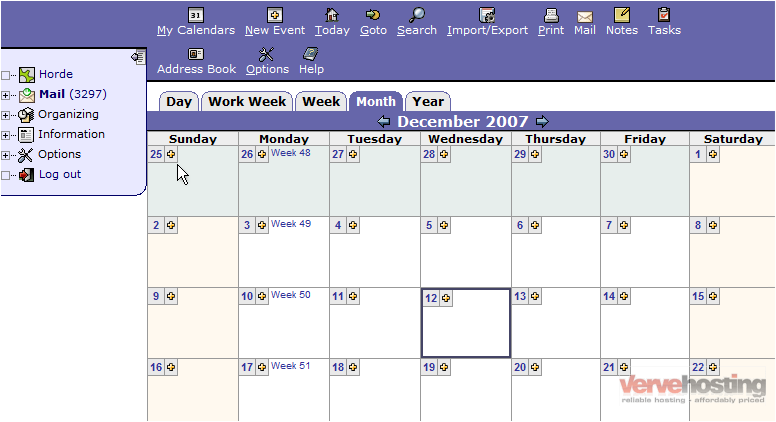
9) The event we had created has now been deleted.

This is the end of the tutorial. You now know how to create calendar entries in Horde

