Apple Mail has the ability to automatically get the email account settings for many email service providers:
- Open Mail.
- Choose Add Account from the File menu. If this is the first time you’ve opened Mail, you will be automatically prompted to add an account.
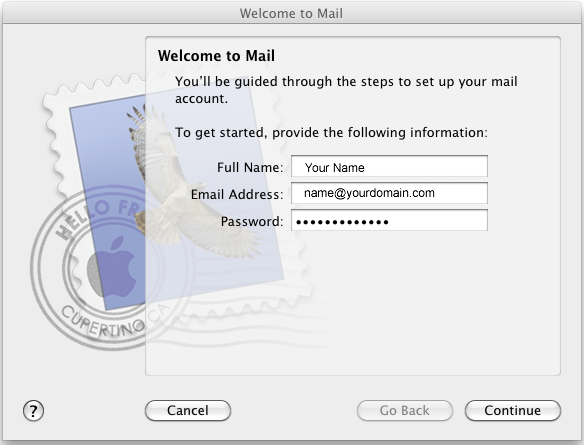
- Enter your Full Name, email address, and password.
- Deselect “Automatically set up account” if it is enabled. Click Continue to proceed.
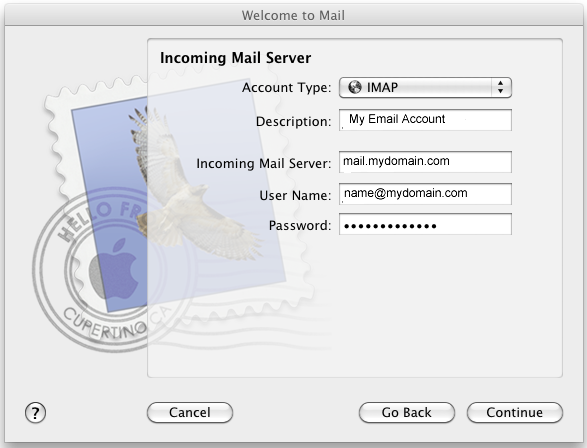
- Choose the proper Account Type. IMAP allows you to read the email directly from the server. POP allows you to download the email to your computer and read it from your mail application’s inbox.
- Give your account a useful description.
- Enter your Incoming Mail Server, User Name and Password. If SSL is enabled the mail server would be the name of the server that hosts your account, which is listed in the account activation email we send you when your account is first created. You can also find it in your cpanel under General Server Information:
In this case the server name would be cherokee.vervehosting.com. If SSL is not enabled the name of the mail server would be mail.your domain.com — replace yourdomain.com with your actual domain name. Once all of the information is entered click Continue.
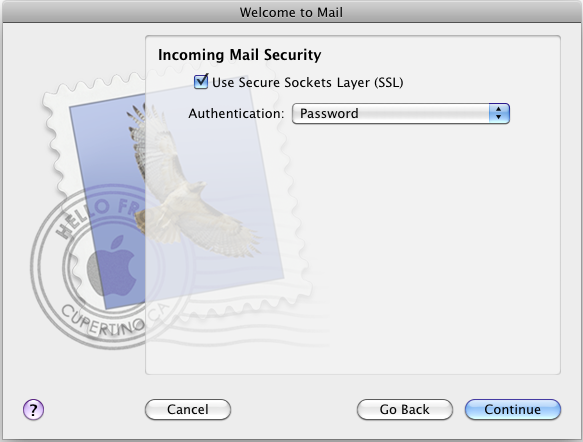
If you are prompted for Incoming Mail Security settings decide whether or not you want to use Secure Sockets Layer (SSL). If the answer is yes check the box for Use Secure Sockets Layer and choose “Password” for Authentication. Click Continue.
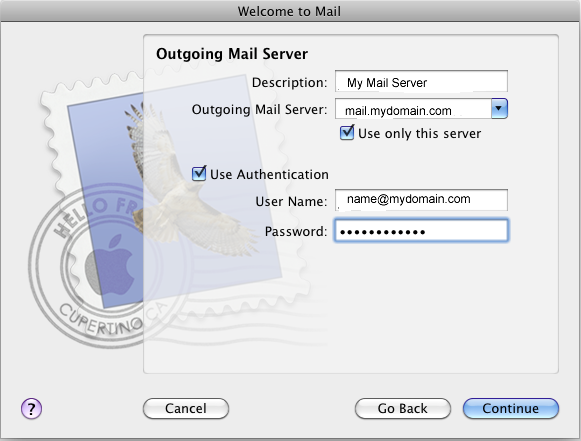
- Enter a description for the outgoing mail server.
- Enter the Outgoing Mail Server name.
- If select “Use Authentication” and enter your User Name and Password. Click Continue.
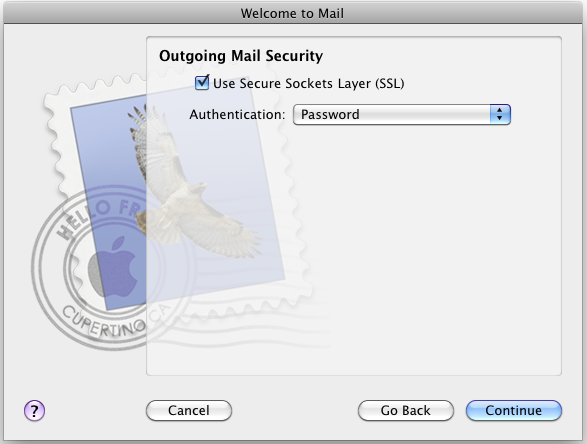
If you are prompted for Outgoing Mail Security settings decide whether or not you want to use Secure Sockets Layer (SSL). If the answer is yes check the box for Use Secure Sockets Layer and choose “Password” for Authentication. Click Continue.
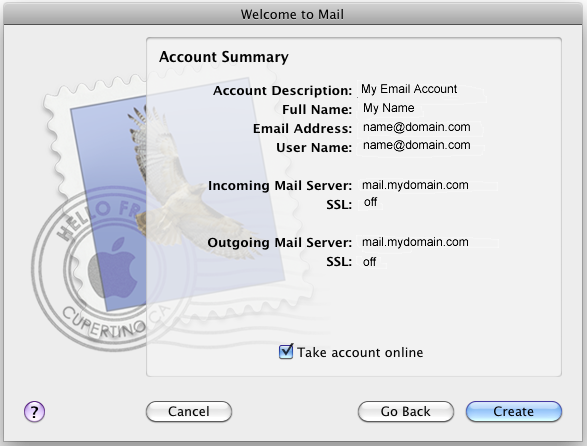
Verify your settings in the Account Summary. If SSL is not enabled the summary should be similar to this:
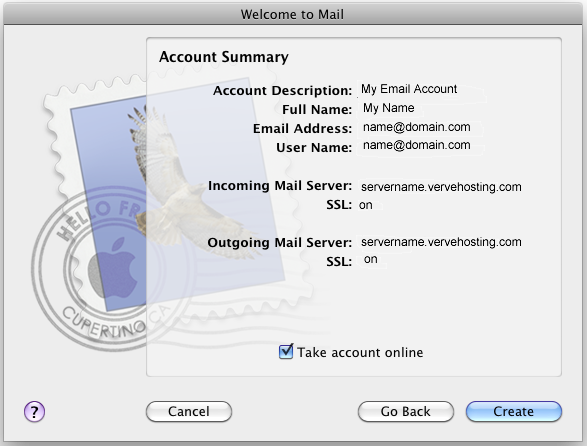
If SSL is enabled the summary should appear similar to this:
Check “Take account online”. Click “Create” to complete the process.

