This tutorial will show you how to use the selection tools in Photoshop
This tutorial assumes you already have your picture open in Photoshop
1) Click the Rectangular Marquee Tool
2) Click and drag in the image to create a rectangular marquee
3) To create a perfect square, hold down the shift key while clicking and dragging
4) To select the inverse, right click in the image…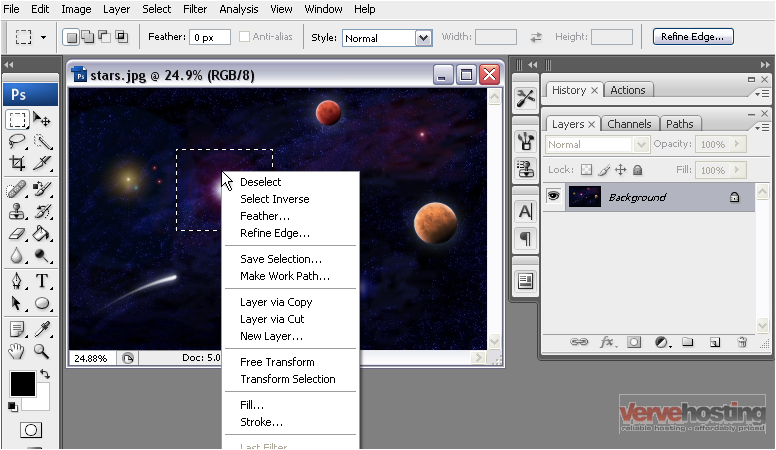
5) Choose Select Inverse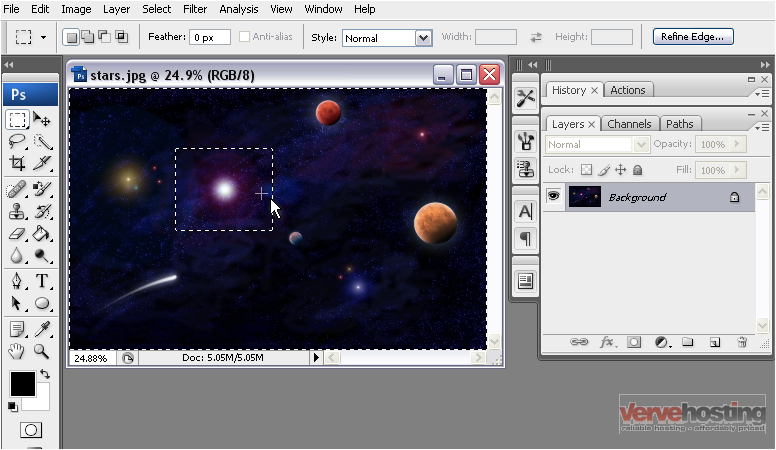
6) To subtract from a selection, choose this icon
7) Click and drag in the image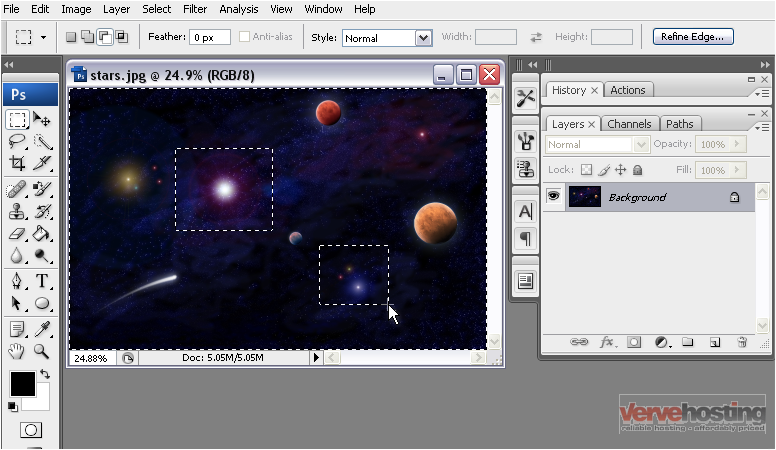
8) To add to a selection, click this icon
9) Click and drag in the image
10) To deselect all the selected areas, right click…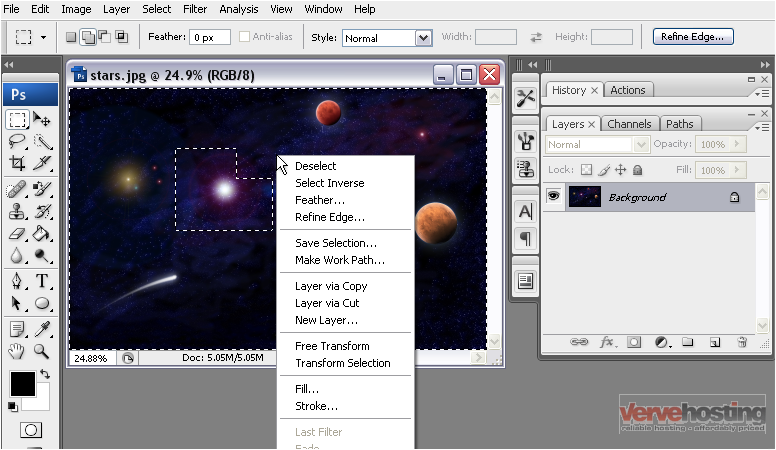
11) …and choose Deselect
12) To create an ellipse, right click and select the Elliptical Marquee Tool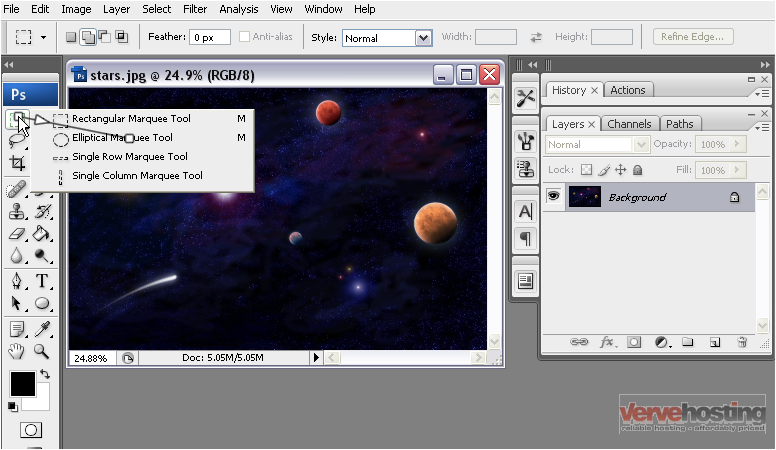
13) Click and drag with the mouse
14) To create a perfect circle, hold down the shift key while clicking and dragging
15) You can create a new layer from the selection by right clicking…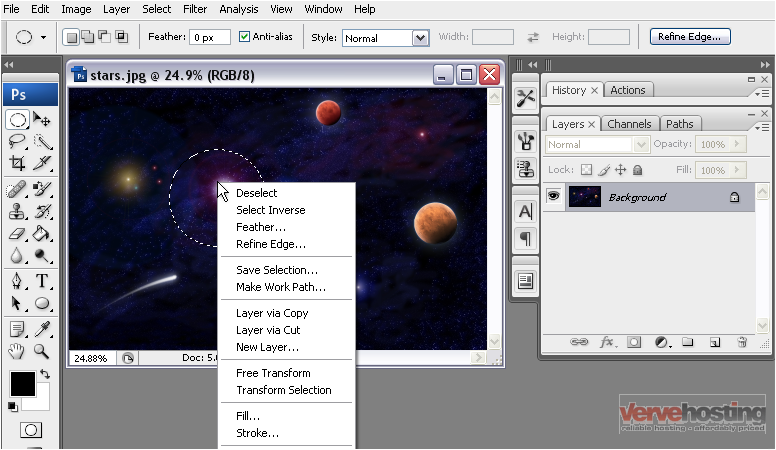
16) …and selecting Layer via Copy
17) Now, if we select the move tool, we can see the old layer underneath
It is also possible to select a single horizontal or vertical row of pixels by choosing the relevant tool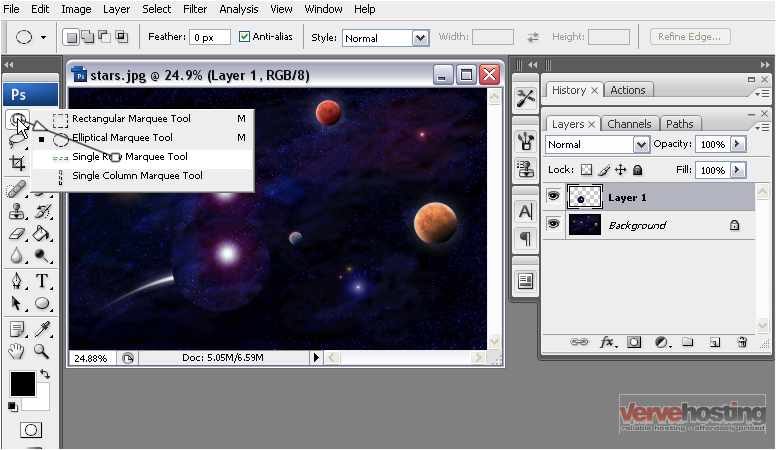
18) Click anywhere on the image to select a single row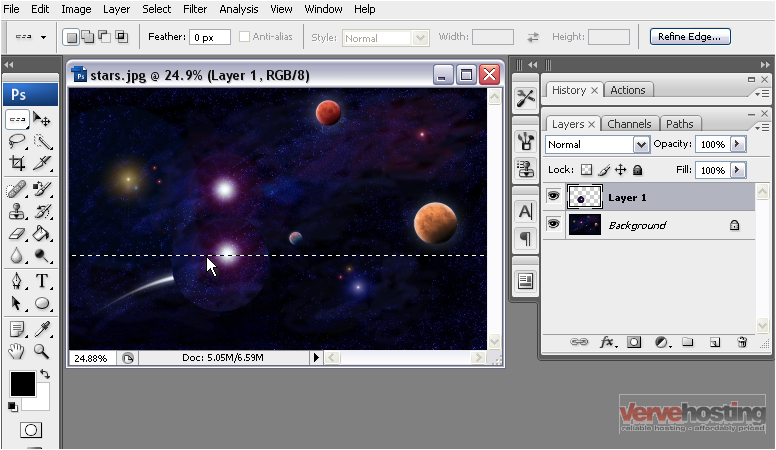
Now, we’ll go back to the original image for this part of the tutorial to avoid confusion
Another way to make a selection is by using the Lasso Tool
This tool allows you to make a selection by drawing around it
19) Click and drag around an object to create a selection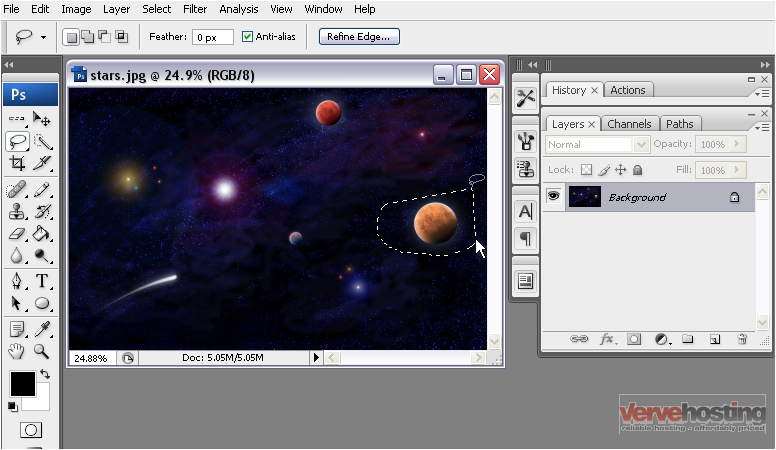
20) Right click to select the Polygonal Lasso Tool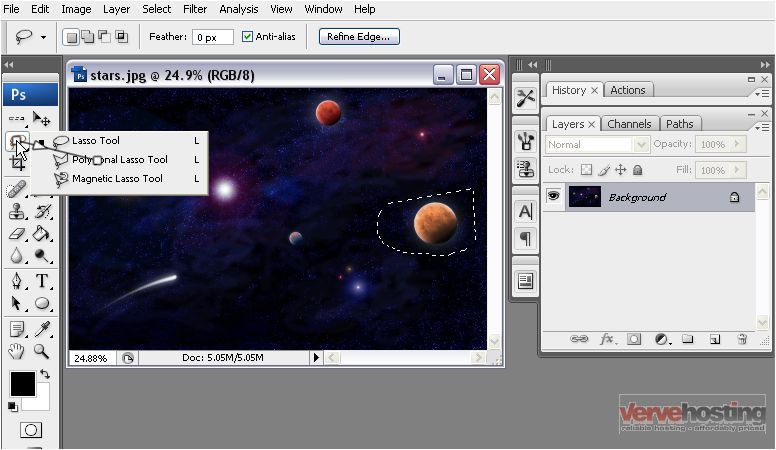
This tool allows you to create a polygonal selection with as many sides as you choose
21) Click in the image to create the first point
22) Click to create the second point
23) Continue in this fashion until you have as many sides as you want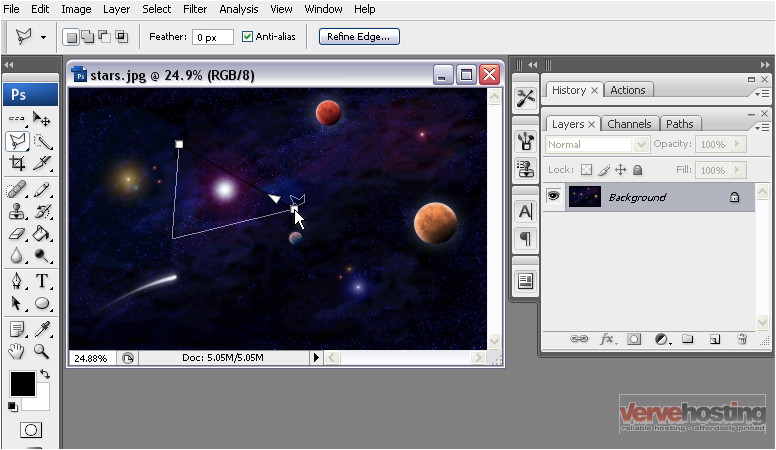
24) Right click to select the Magnetic Lasso Tool
This tool detects pixels of a different color and selects them
25) Click and drag around an object
Yet another way to make a selection is by using the Quick Selection Tool
When you click and drag across your image, it will select all pixels around it of similar colors
26) Click and drag in your image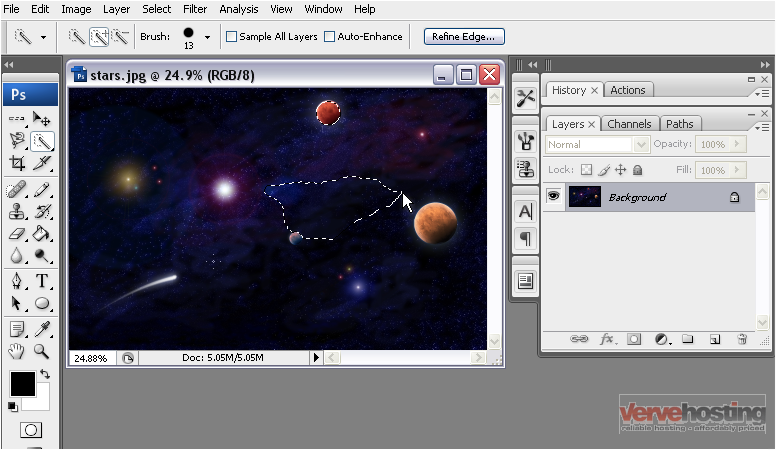
27) Right click and select the Magic Wand Tool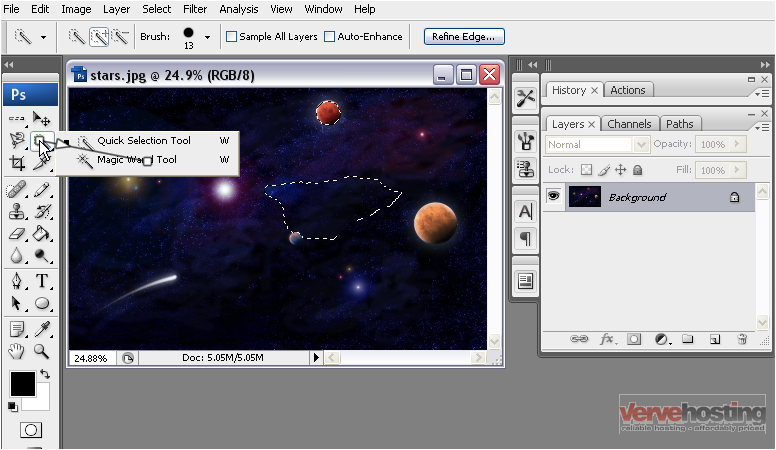
With a single click, this tool can detect all pixels of a similar color and select them
28) Click anywhere in the image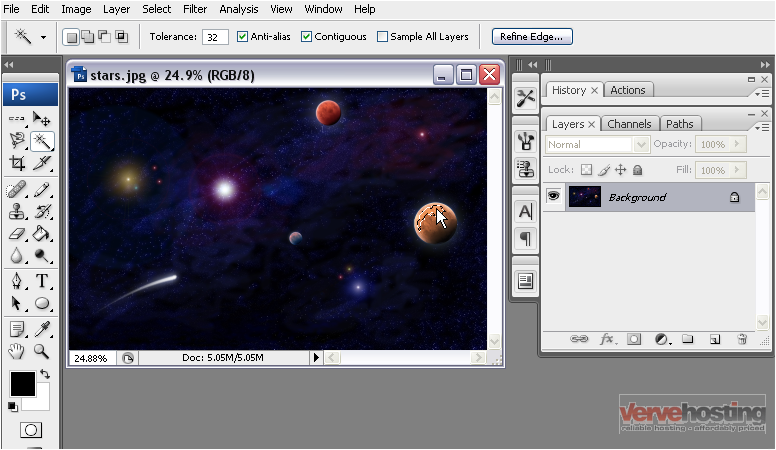
29) You can turn the tolerance up or down to broaden the range of colors selected
30) Now, click in the image
Notice that more pixels have been selected
31) To select all pixels across the entire image, you can uncheck Contiguous
This is the end of the tutorial. You now know how to use the selection tools in Photoshop
