This tutorial will show you how to re-arrange and close all open documents in Photoshop
This tutorial assumes you already have your photos open in Photoshop
1) Go to the Window menu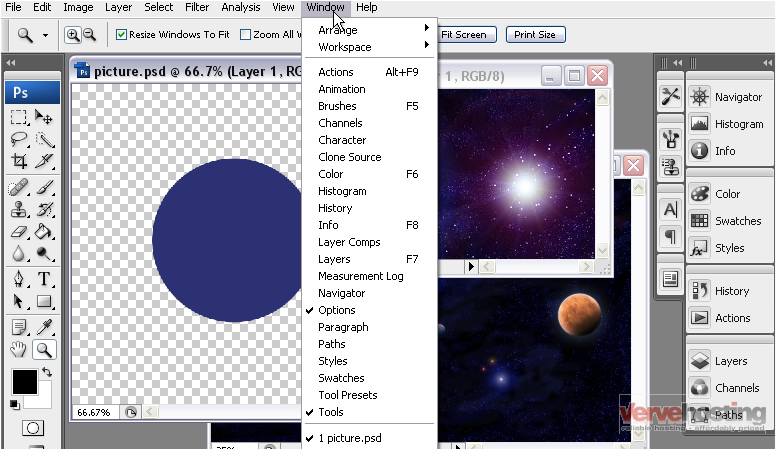
2) Now, go to the Arrange menu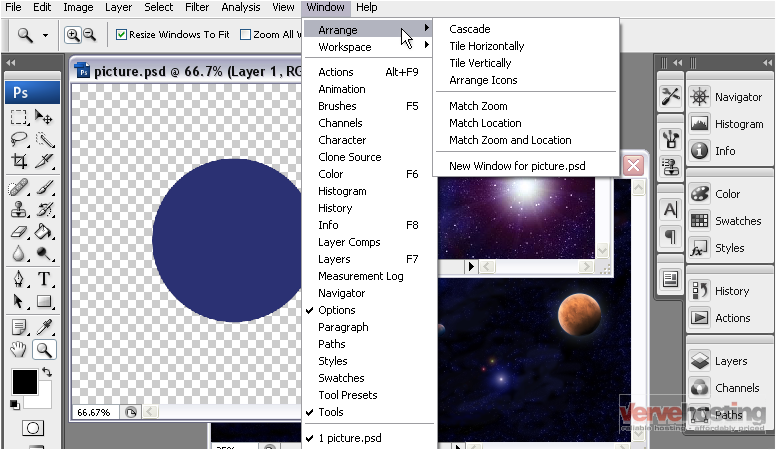
3) Select Cascade
Photoshop has now re-arranged all open documents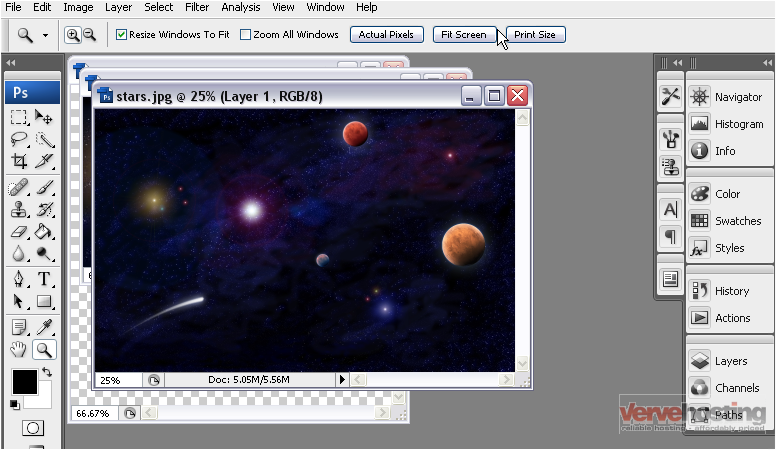
You can also tile them vertically or horizontally for easier viewing
4) Go to the Window menu again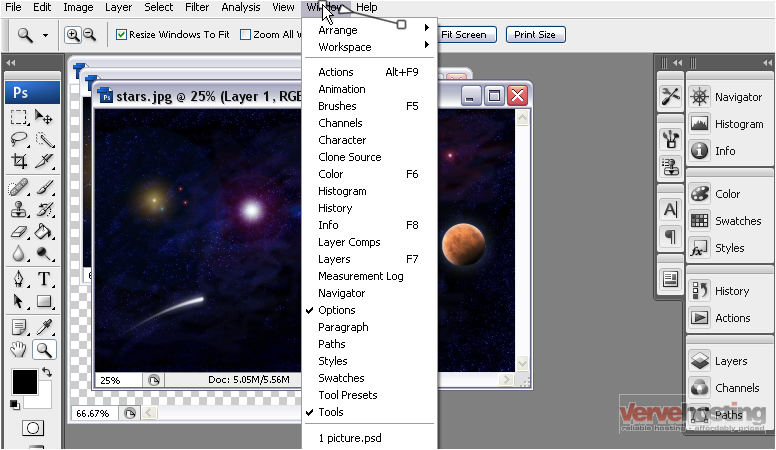
5) Under the Arrange menu, select Tile Horizontally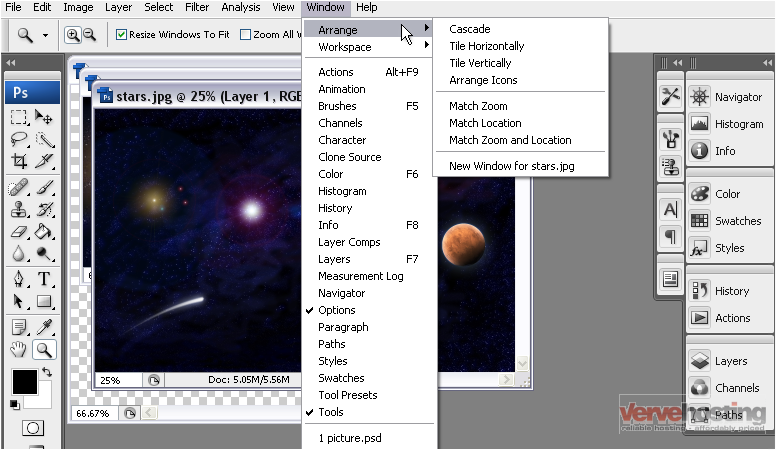
The windows have been arranged again
You can also match the zoom of all images with the selected image
6) Select the image with the zoom you want to match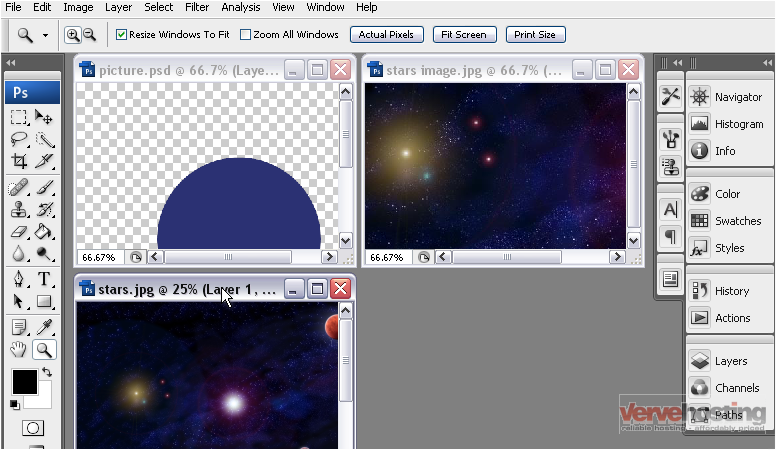
7) Go to the Window menu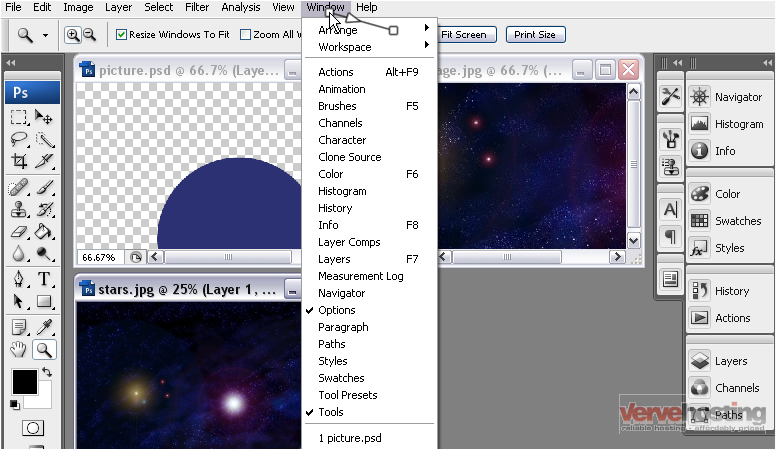
8) Under the Arrange menu, select Match Zoom
All of the images have now been zoomed to 25% to match the selected image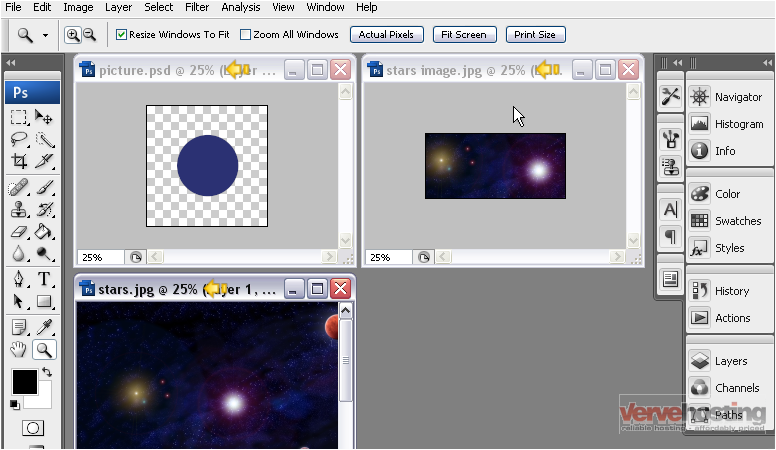
You can also match the location of all the images with the selected image
9) Select the image with the location you want to match
10) Go to the Window menu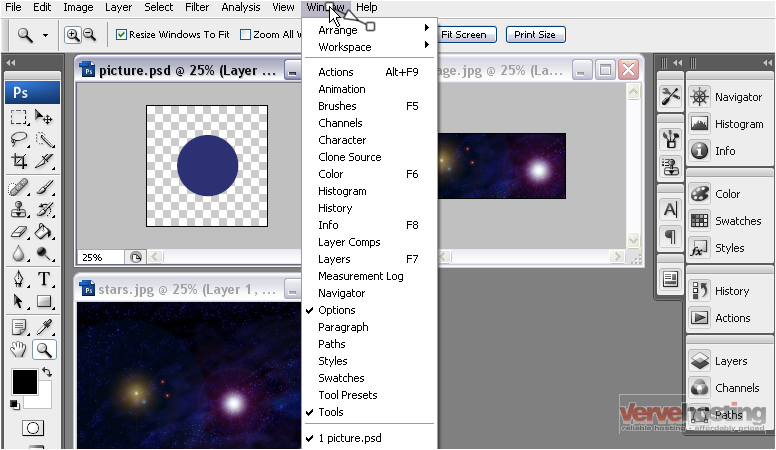
11) Under the Arrange menu, select Match Location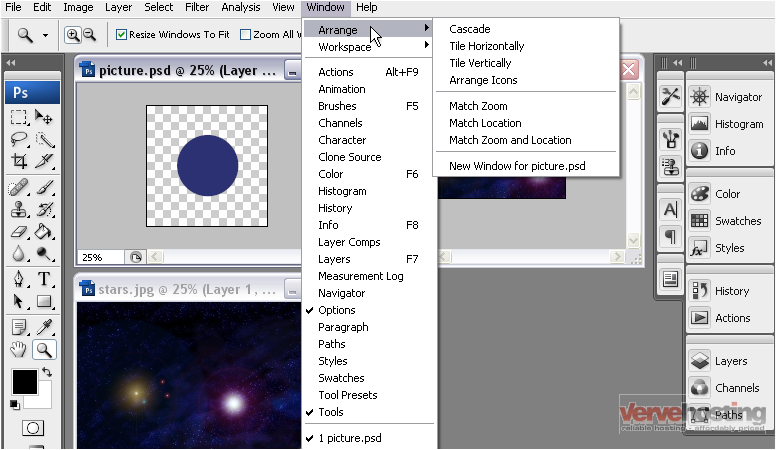
Notice that the scrollbars in this image have been moved to match the location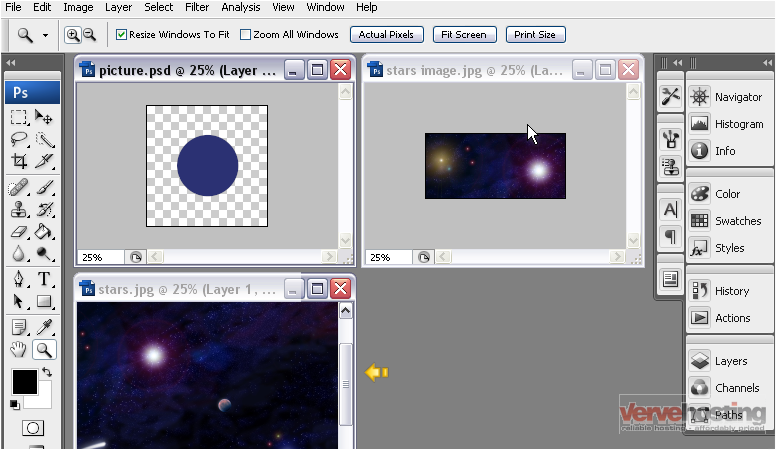
Once you are done editing your images, you can close all of them
12) Go to the File menu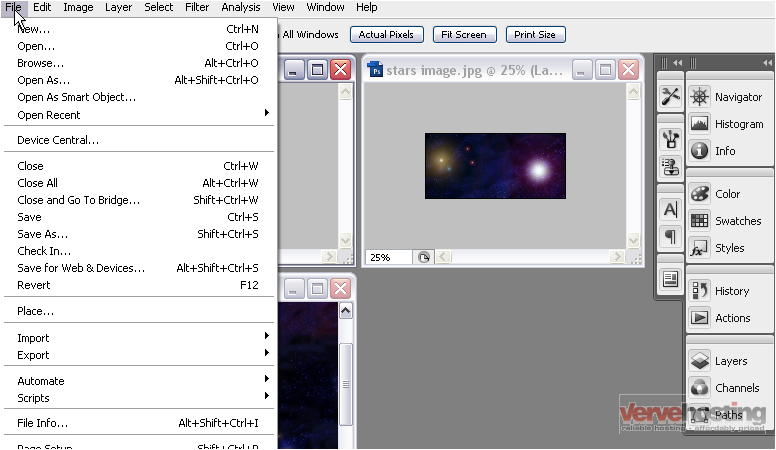
13) Select Close All
A dialog box will pop-up for each image you have made changes to. Any un-changed images will close automatically
14) You can save the changes to your image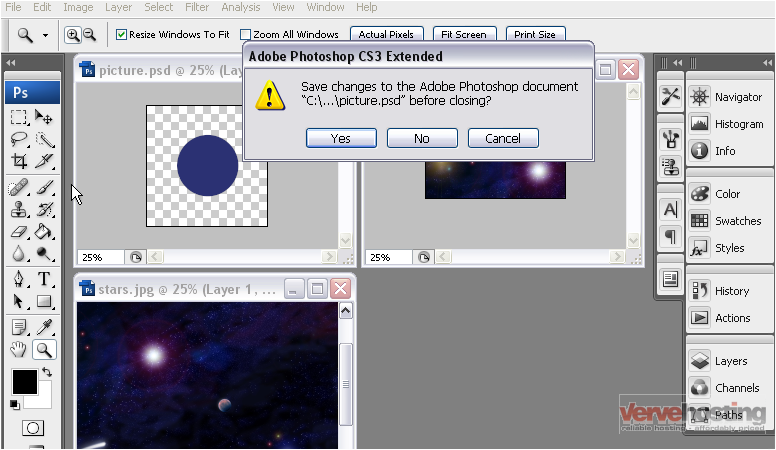
15) You can also reject any changes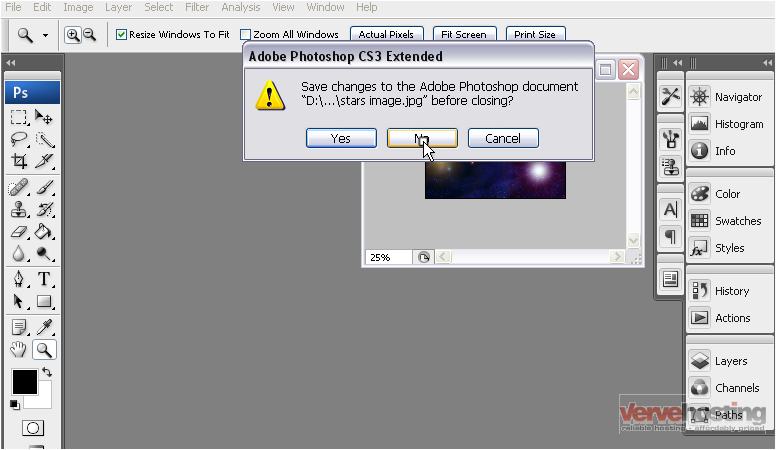
Photoshop will remain open even after the last image has been closed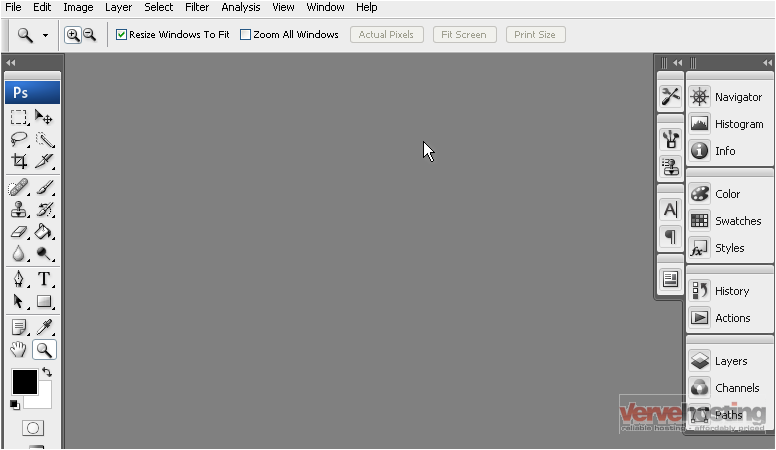
This is the end of the tutorial. You now know how to re-arrange and close all open documents in Photoshop
