This tutorial will show you how to use the eraser tools in Photoshop
This tutorial assumes you already have your picture open in Photoshop
There are three eraser tools that each serve a unique purpose
1) Select the eraser from the toolbar
2) Click and drag with the mouse anywhere on the image to erase an area
3) To change the style and size of your eraser, click the arrow
4) Select a brush from the list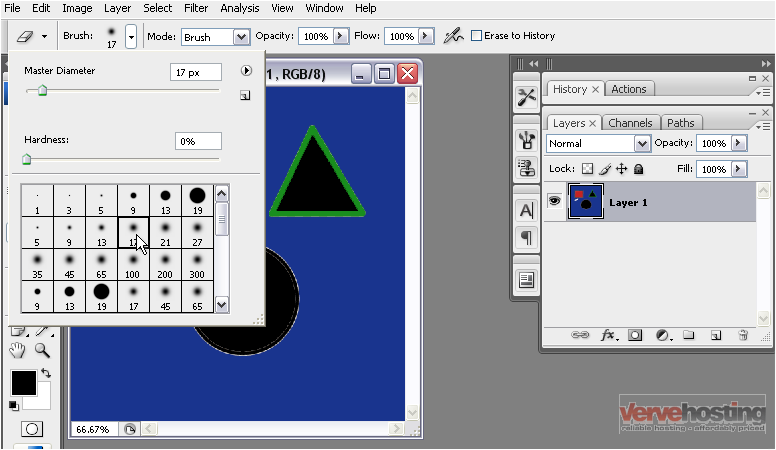
5) Change the diameter by adjusting the slider
You can also adjust the size of the eraser by using the bracket keys { } on your keyboard
6) Click and drag the mouse to erase
7) You can change the opacity of the eraser tool
8) Now, click and drag to erase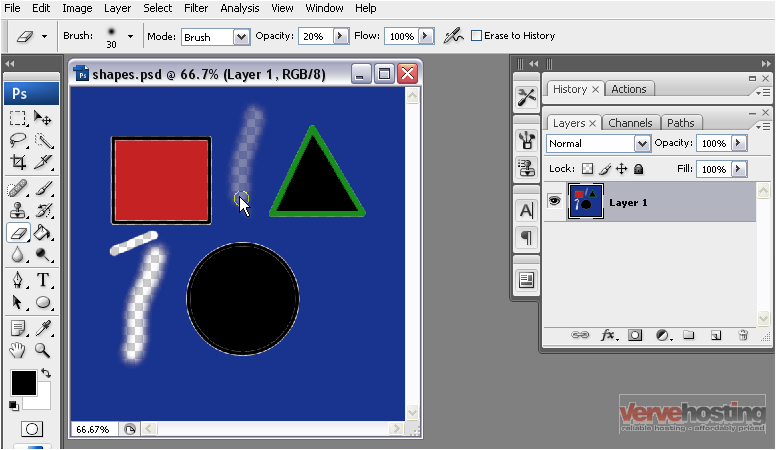
Note that part of the image is still visible where we erased
9) For easier erasing, select the background eraser tool by right clicking on the eraser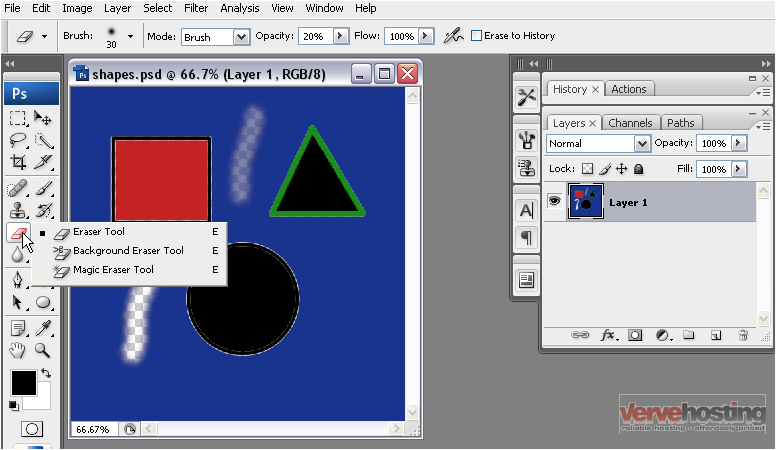
10) Select the background eraser tool
The background eraser selects a color from the image using the position of the mouse and erases everything of that same color within the brush radius
11) Click and drag to erase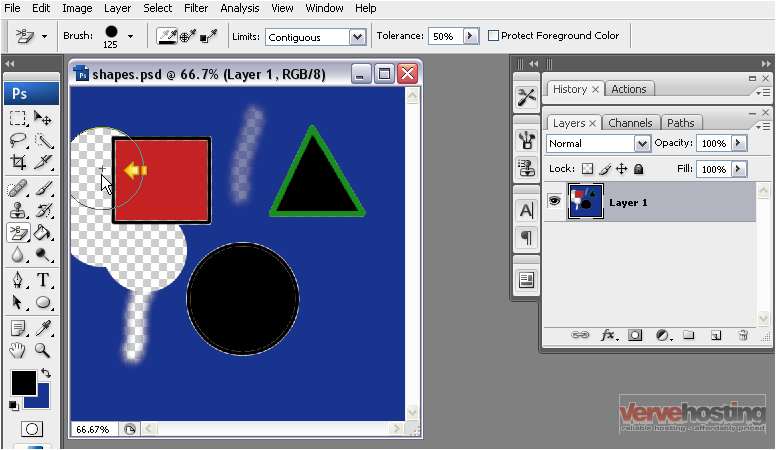
Only the blue has been erased within the eraser radius since blue was the color at the center where the + is located
12) Now, right click and select the magic eraser tool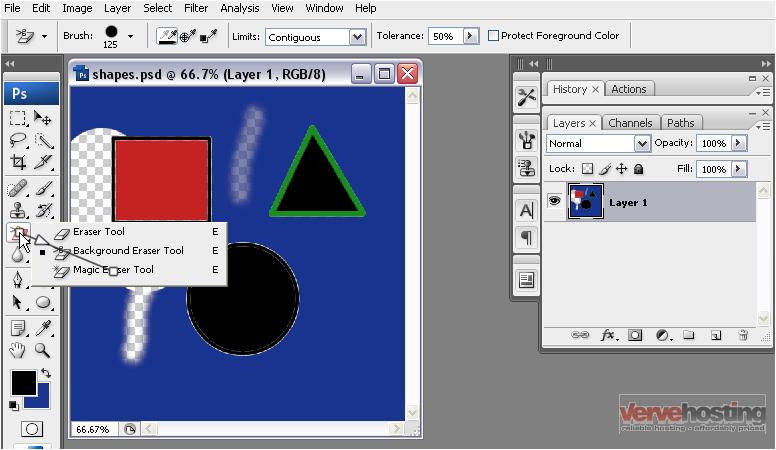
This tool erases an entire area that is the same color with one click
13) Click anywhere on the image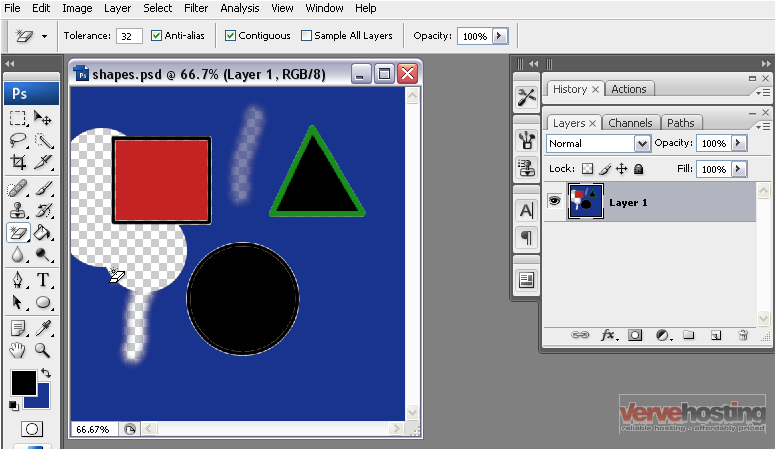
14) All the black has been erased from inside the triangle
15) To erase a color from the entire image whether it is touching or not, make sure Contiguous is unchecked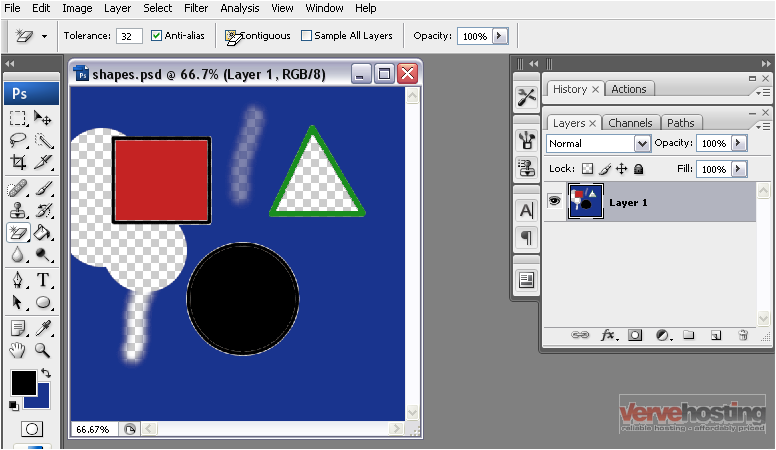
16) Now, click on an area in the image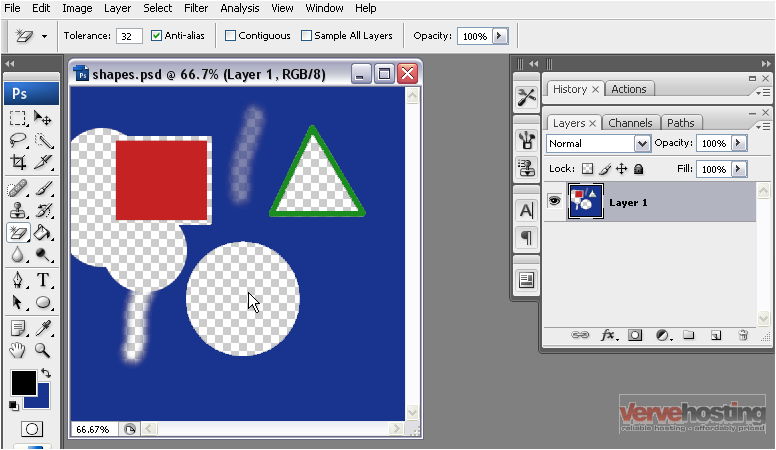
This time, all the black has been erased from the entire image
This is the end of the tutorial. You now know how to use the eraser tools in Photoshop
